

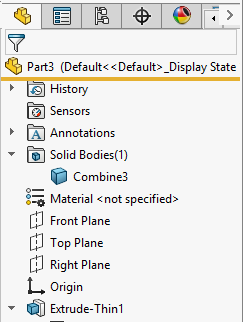
The Combine tool is a multi-functional tool that can be used to Add, Subtract and show the combination of multiple bodies. This method of modelling is a great tool when working with complex shapes.
The Add Operation
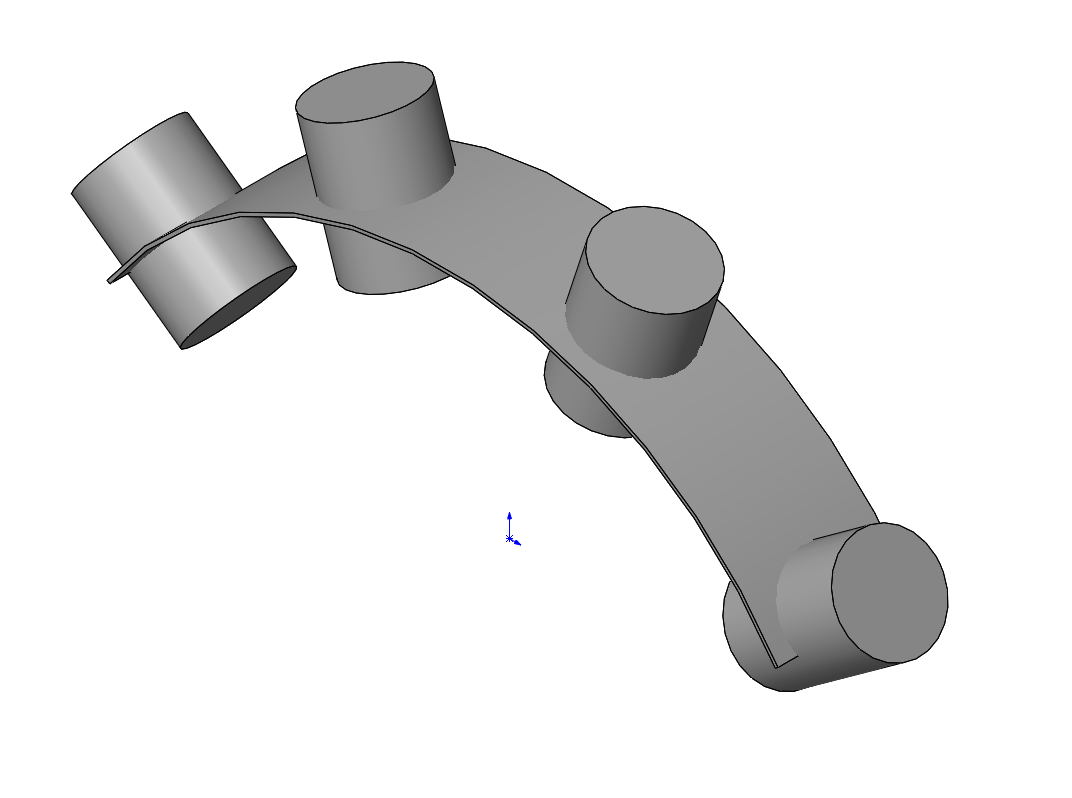
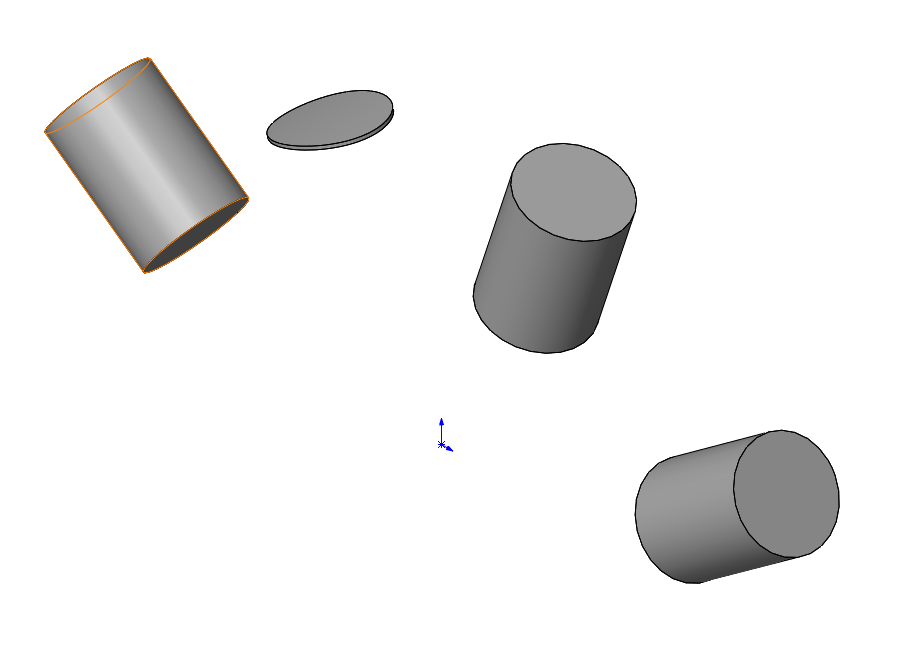
For this operation I want to combine the 4 cylindrical shapes to curved thing solid. Select the Combine tool Insert>Features>Combine and select Add.

The difference is subtle as the geometry does not appear to change, however an edge can now be seen between the cylinders and the curved face. The design tree also shows the Solid Bodies folder with 1 entity in it, as a result of the combine tool.
The Subtract Operation
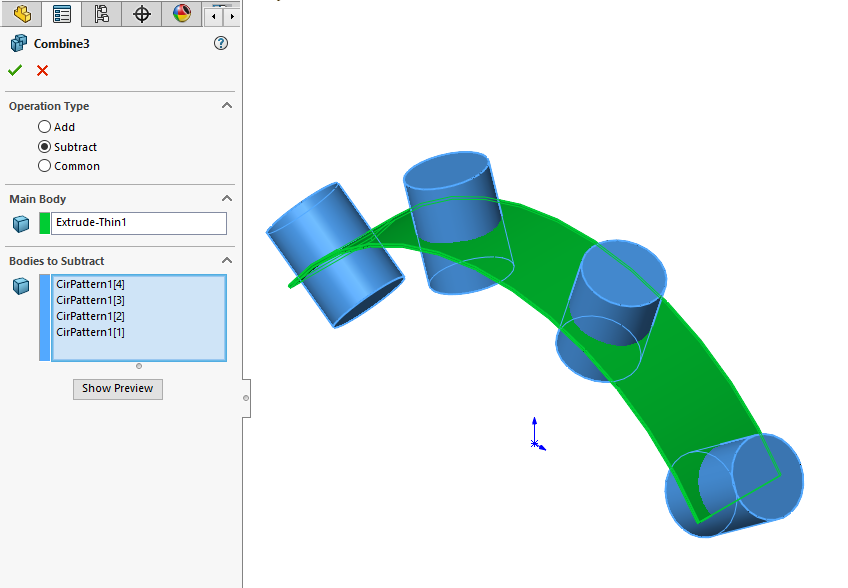
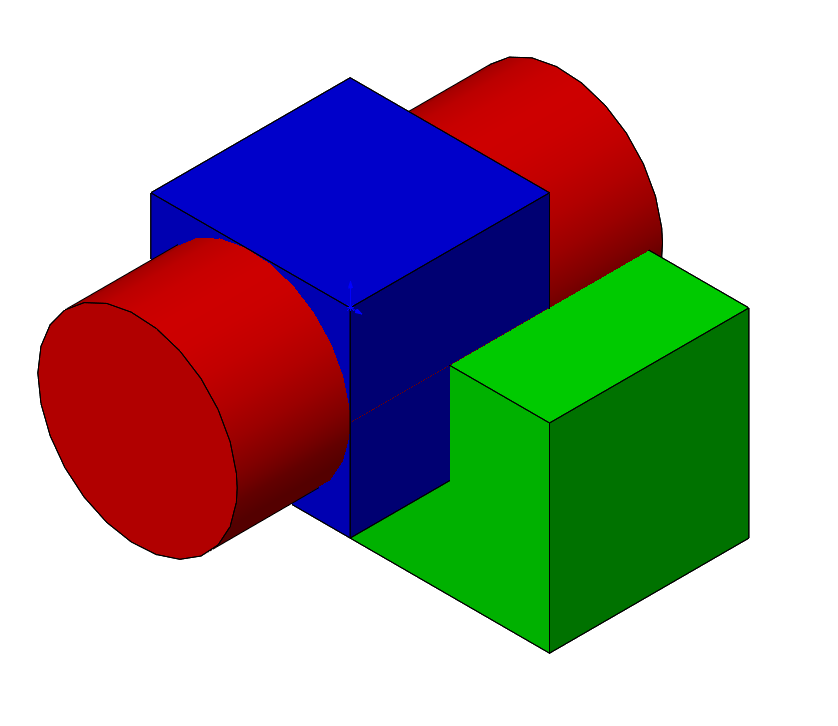
To remove the cylinders from the curved solid, use the combine tool but select the Subtract operation. To complete this feature we have to identify one main body and bodies to be subtracted from that body. In the picture below green is the main body and blue is the subtraction bodies.
The Common Operation
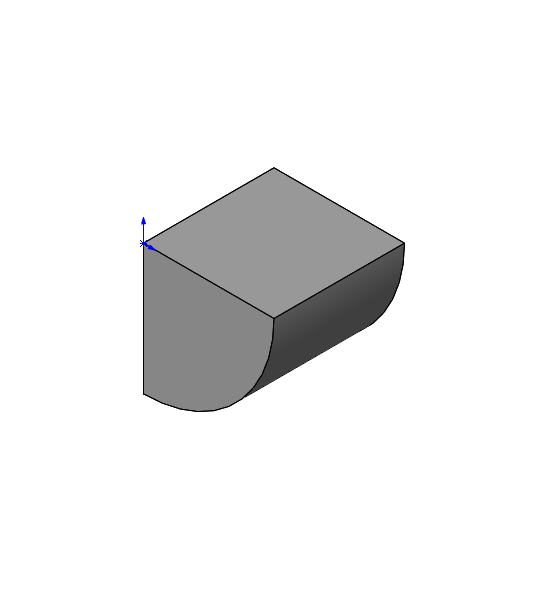
The common operation takes multiple bodies and combines them where they share common geometry. In our case this will not work as all the cylinders and the curved solid do not share a common geometry. The feature can be done for 1, like below.
To better show this I have created 3 solid bodies and completed the common operation on them below.
Intersect
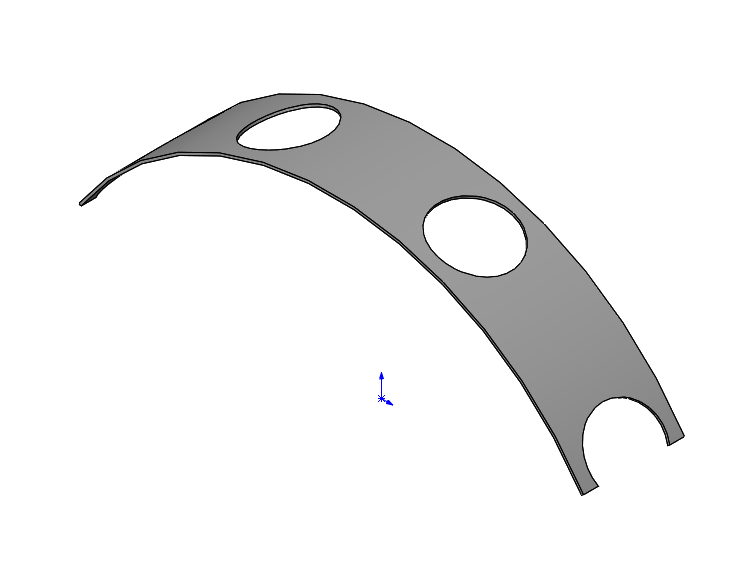
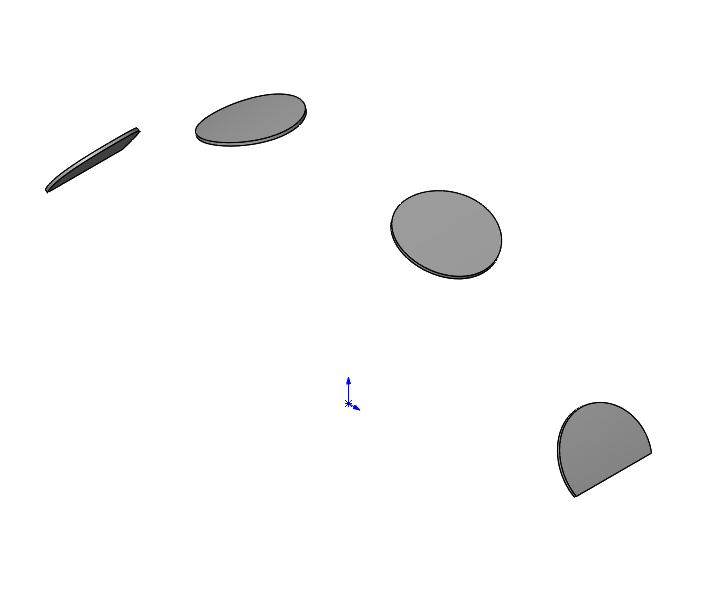
A similar command to the combine is the intersect, this will create 4 discs where the cylinders intersect with the curved shape. This is located in Insert>Features>Intersect, then select all the bodies to intersect and click which sections are to be removed.
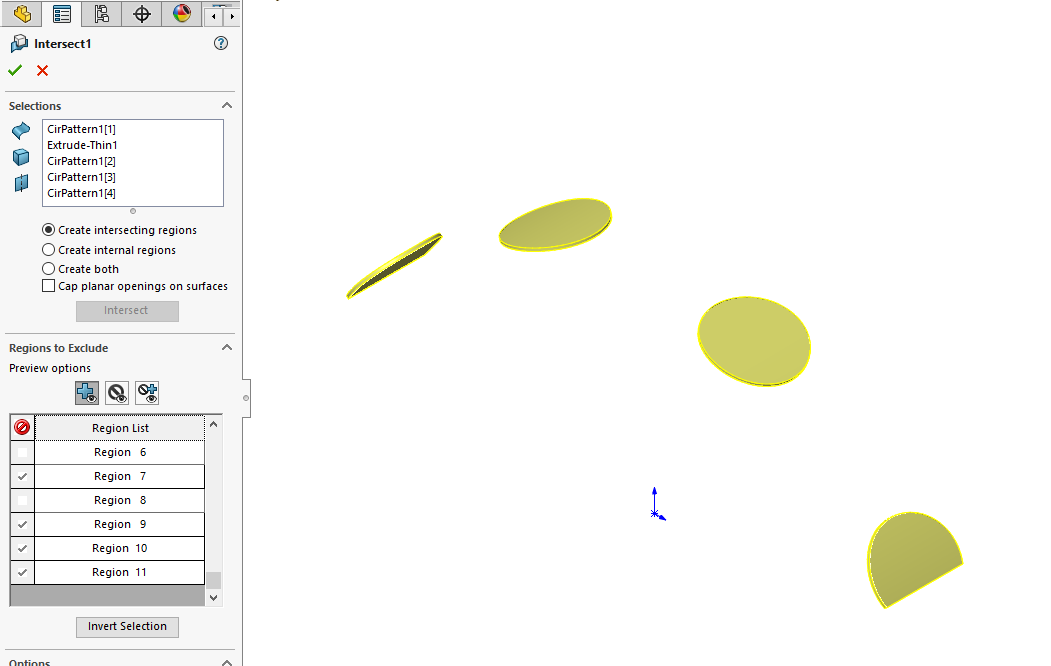
This will leave the four discs.
This was a tech tip on using the combine and intersect tool, which can be used to create complex shapes using multiple bodies.