

SOLIDWORKS BIM Capabilities and Export to AEC
Although more commonly used for mechanical applications, SOLIDWORKS is popular within the Architectural and Construction industries. As BIM adoption within these industries increases, users now more frequently require BIM integration within their CAD software.
Building Information Modelling (BIM) is a method of providing information to those who need it. Users who plan, design, build and manage construction projects are able to come together using intelligent 3D modelling. The central 3D models provide users that need information with the method to collect and understand it easily. With BIM a building for example, is built twice – virtually then physically.
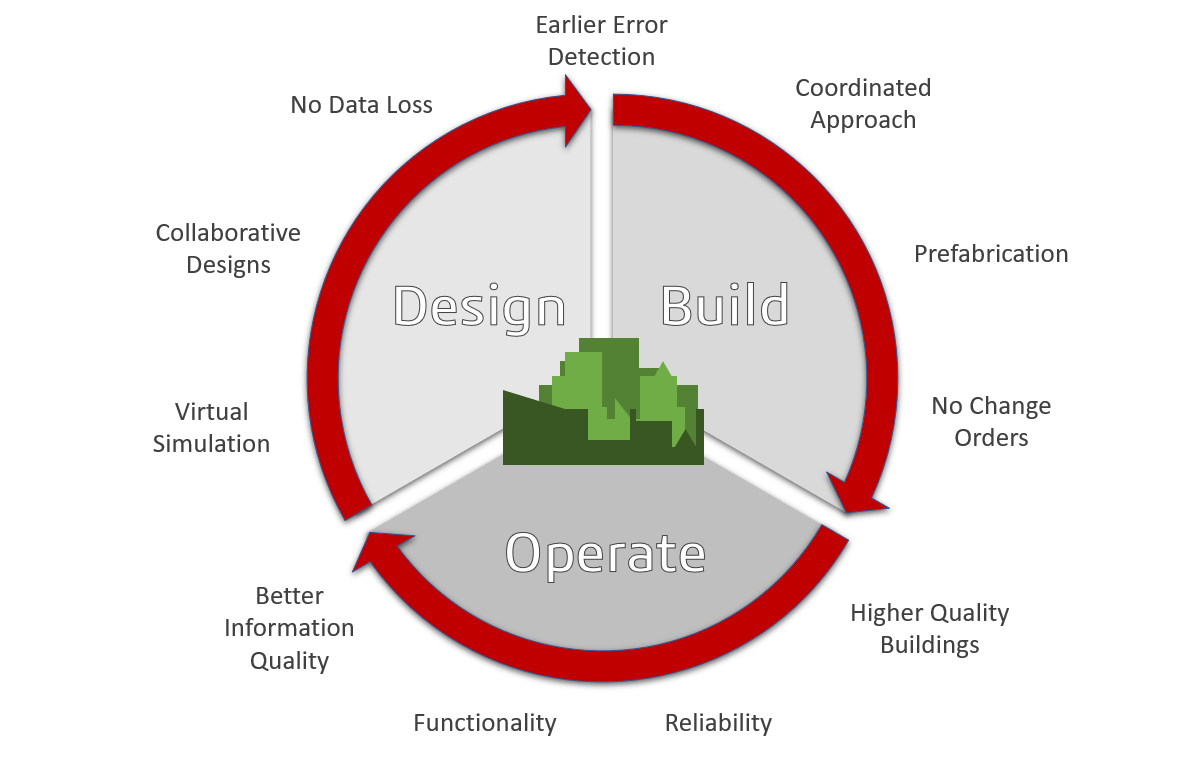
SOLIDWORKS has the functionality to easily export 3D models for use in Architecture, Engineering and Construction (AEC) software. This offers designers and engineers added flexibility and assurance when sharing models and data intended for BIM integration.
SOLIDWORKS has the capability to export files directly into IFC formats. However, this creates large file sizes not practical for large projects.
As well as having the functionality to export to IFC, the Export to AEC Wizard helps you prepare a SOLIDWORKS model so you can import it directly into AEC software. These models will usually have a reduced file size. There is also no wasting time on trial and error of many different types of export formats and settings.
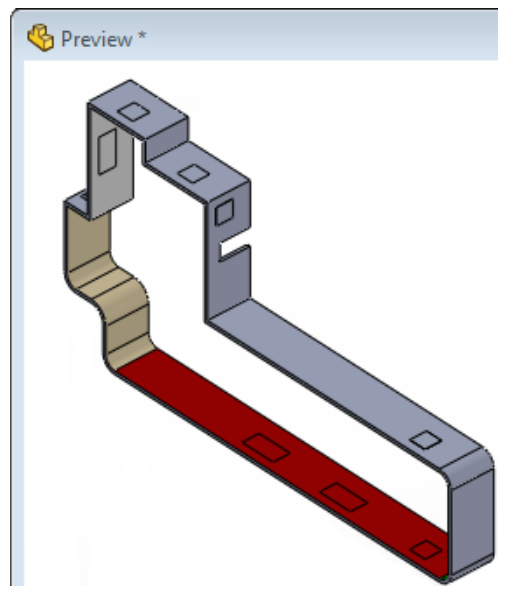
The wizard enables the user to easily establish the mounting location for the newly designed product. This ensures the size, scale, and rotation are accurate and easily understood. It then allows for various grades of de-featuring dependent on the design’s requirements. The model is converted to an ACIS (.SAT) format – which is widely used in the AEC software industry.
- Open the model you wish to export
- Click Tools > Export to AEC
- In the Property Manager, under Define Host:
- Select the type of component: Floor Based Component, Ceiling/Roof Based Component, or Wall Based Component. This instructs how the model will be used.
- Select a reference plane or face. Then, select a reference point. These create the location point for bringing in the model.
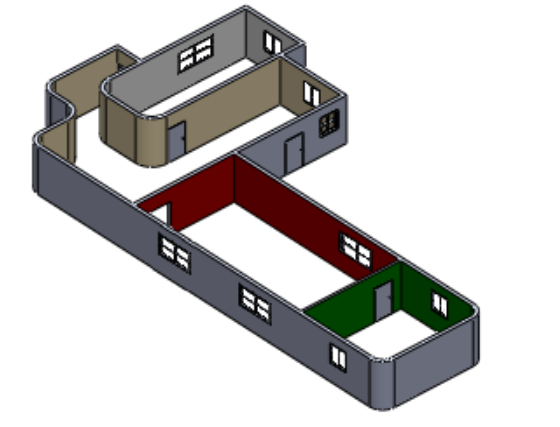
The next step is to reduce down the level of detail in the model. We must find a compromise between detail and file size.
- Click Next.
- On the Specify Export Detailpage, under Set Target Model Details, select one of the following options:

- High – The model is exported as is, without removing any details. There is minimal difference between the original file and the new file. File size should be roughly the same.
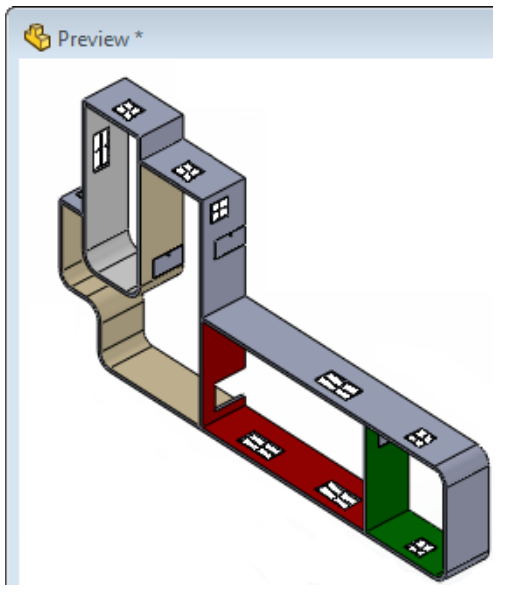
- Medium – All internal components are removed and internal cross section geometry is removed and made solid. Fillets and chamfers with less than one-inch radii are removed and holes under two inches in diameter are suppressed. Files should remain similar and file size should remain roughly the same.
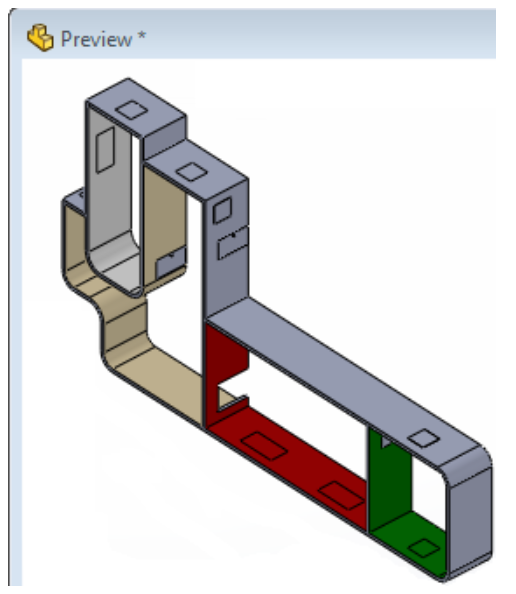
- Low – All internal components are removed and internal cross section geometry is removed and made solid. Fillets and chamfers with less than two-inch radii are removed. Holes under three inches in diameter and extrudes less than three inches in total depth are suppressed. Sometimes, features are removed at random. Can sometimes remove too much information but file size will be reduced.
- Custom – Allows you the flexibility to choose what features are removed. It is also called Defeature (it can also be found under Tools > Defeature). This tool provides us with several options:
-
- Remove internal components.
- A scale percentage of small components to be removed can be chosen.
- Remove selected components. You are able to choose which components are removed manually.
- Select any features to keep. An option to choose any features such as holes etc. you wish to keep.
- Items to remove. You are able to select items (parts or bodies etc.) within the model to remove manually.
- You are then able to save the defeatured model as either a .sat. or a .rfa.
- Specify the file name and save location. Click Save.