
Christmas Tree
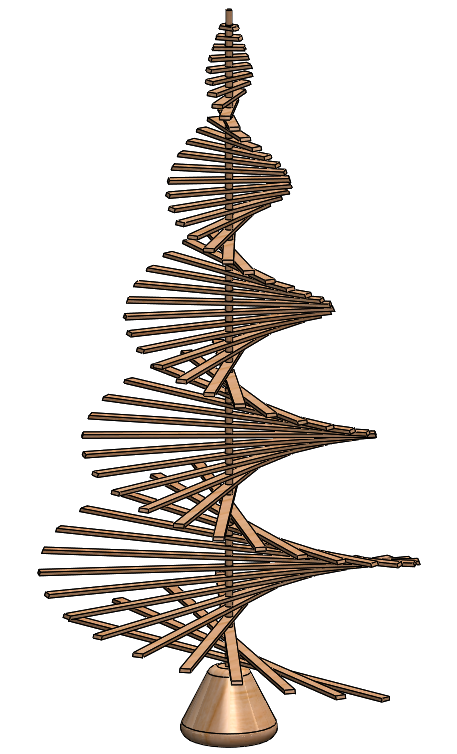
The main centrepiece at Christmas is the tree, this year we have gone for a more artistic approach. There a several designs available, the one we have chosen allows us to use some interesting SOLIDWORKS features. For Day 9 of the 12 Blogs of Christmas we are looking at how to create a Christmas tree in SOLIDWORKS.
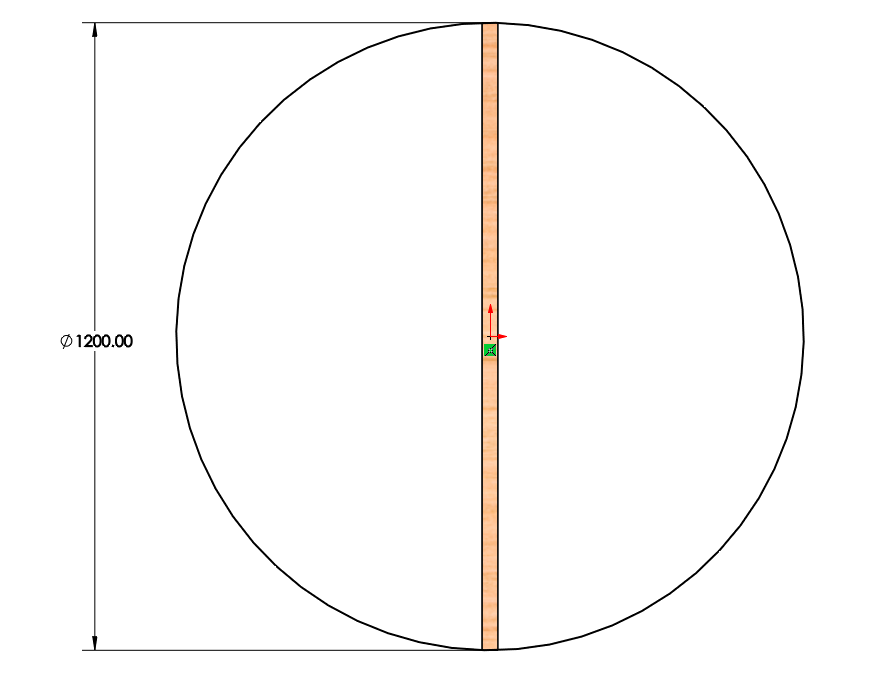
Firstly, create one branch, with the dimensions of the widest part of the tree.

Then we can create the circle part of helix.
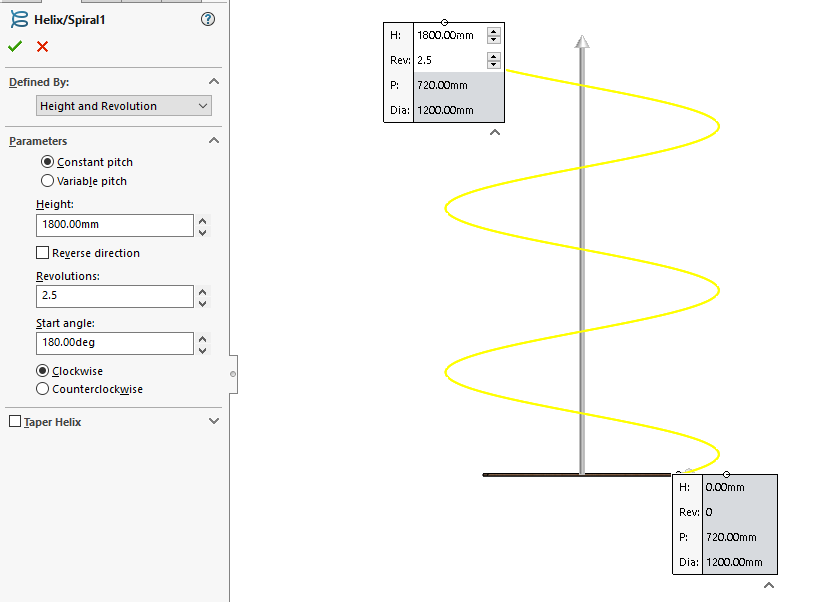
Then using the helix command we can give a height and number of revolutions to the guide curve.
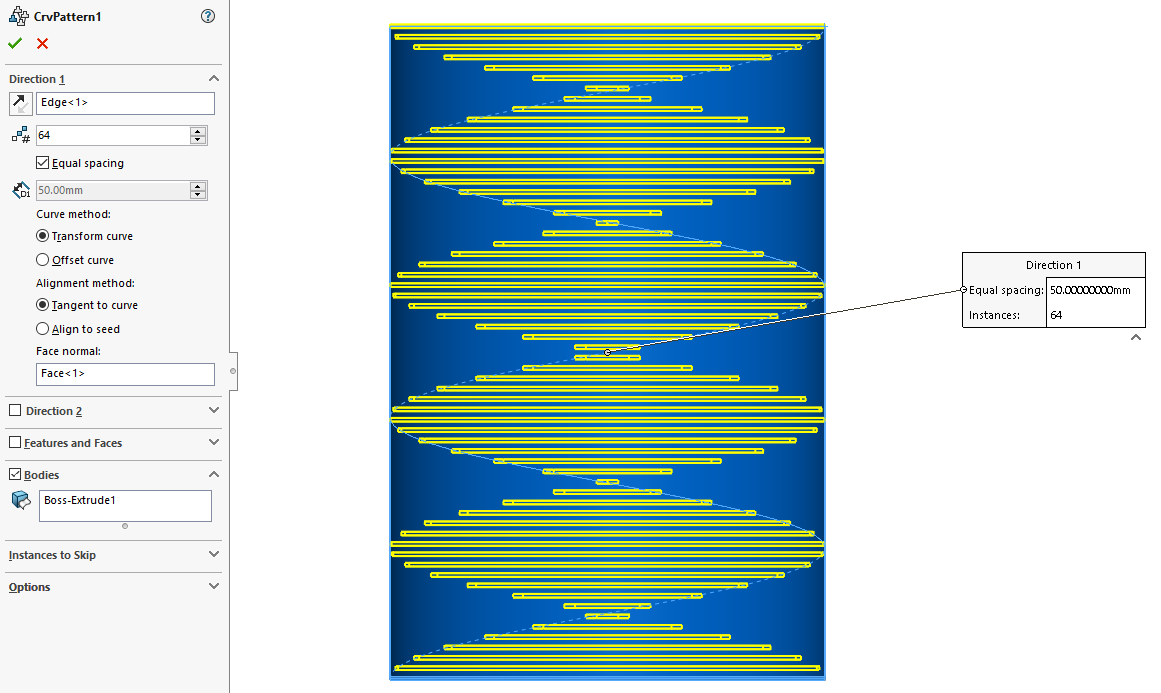
This will be used when creating a curve driven pattern.
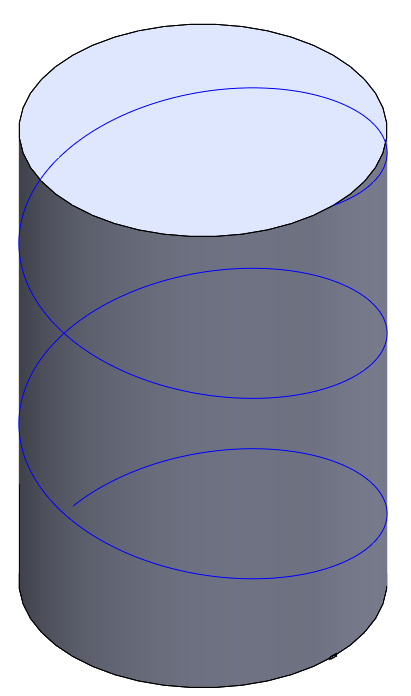
Using the same sketch we created for the helix, create a separate extrusion, making sure merge solids is unchecked. This will give a face for the curve to be normal too.
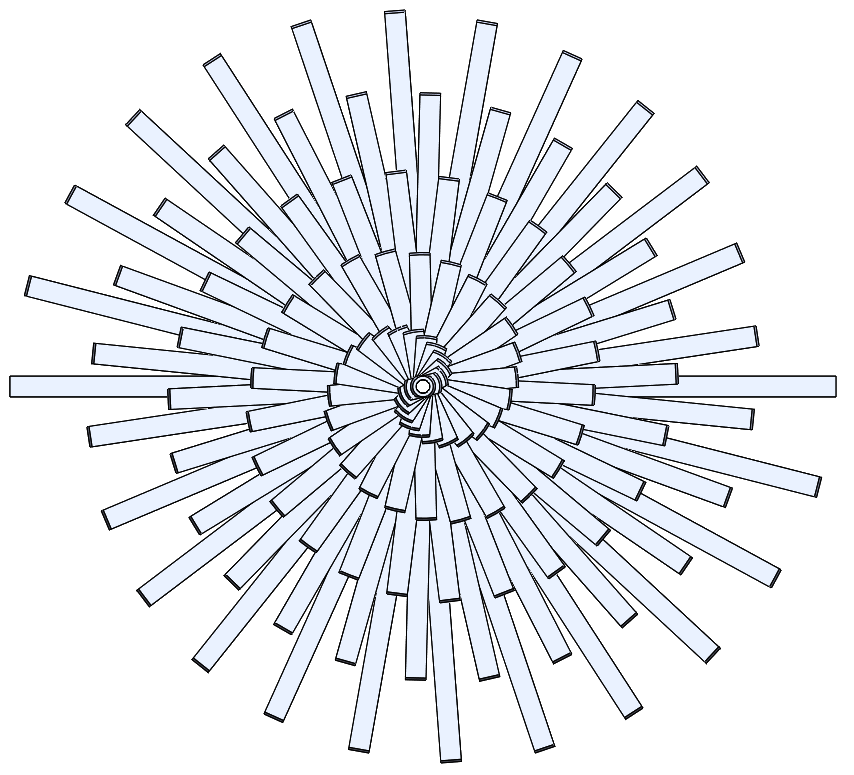
Use the curve driven pattern to create 64 branches of the tree, selecting the helix as the curve and cylinder as the normal face.
After this feature is complete use the delete/keep bodies feature to delete the extrusion, leaving the branches.
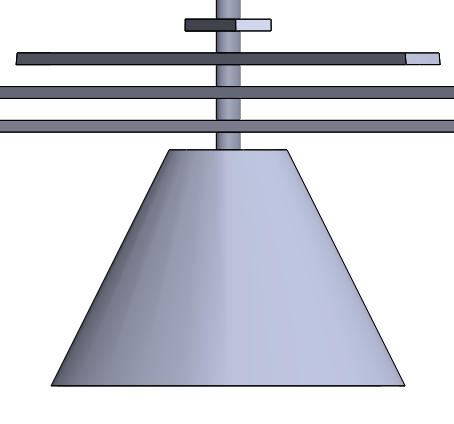
Then create a surface in the traditional cone shape of a Christmas tree and revolve. This will give us a surface to have our branches cut to.

Use the command cut with surface to cut away the outer parts.
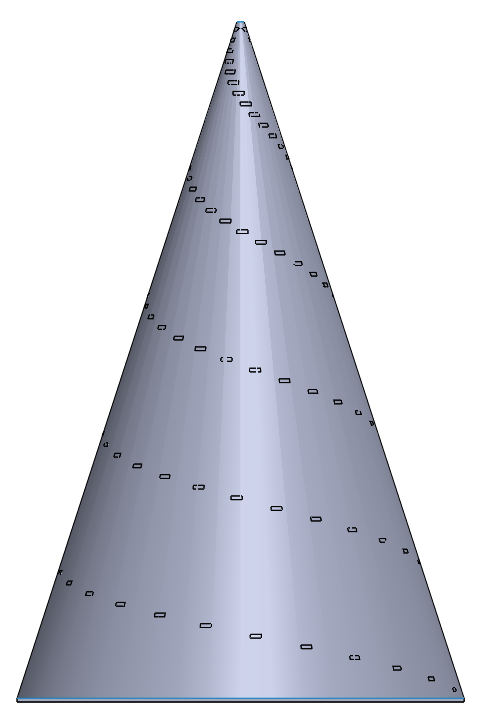

We now have the basic shape.
Drawing on the top plane cut out a circle through all branches, this will allow us to slide a rod through to support the branches.
Re-use the sketch to extrude the main trunk.

Then cut in at the top to match the star fitting.
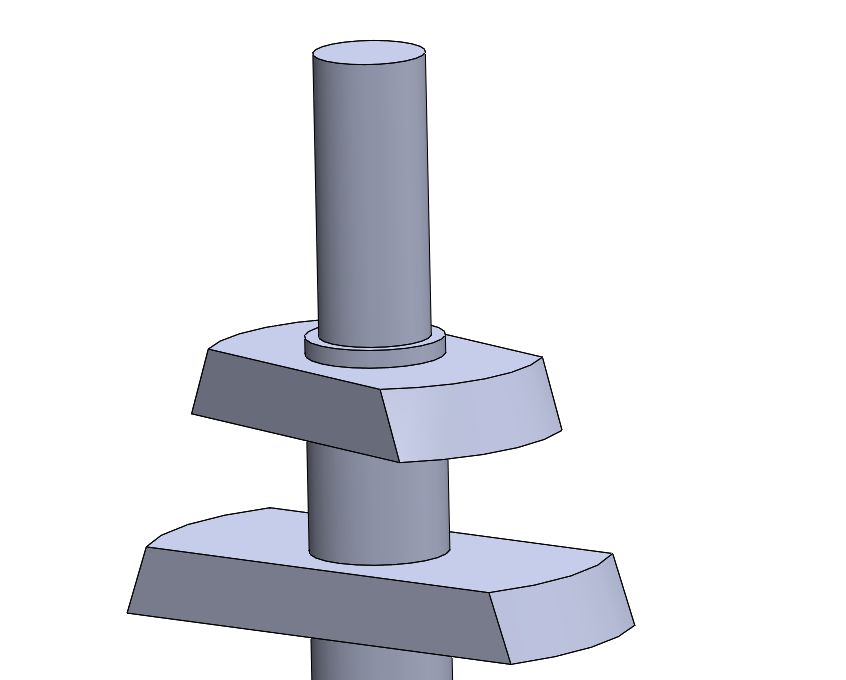
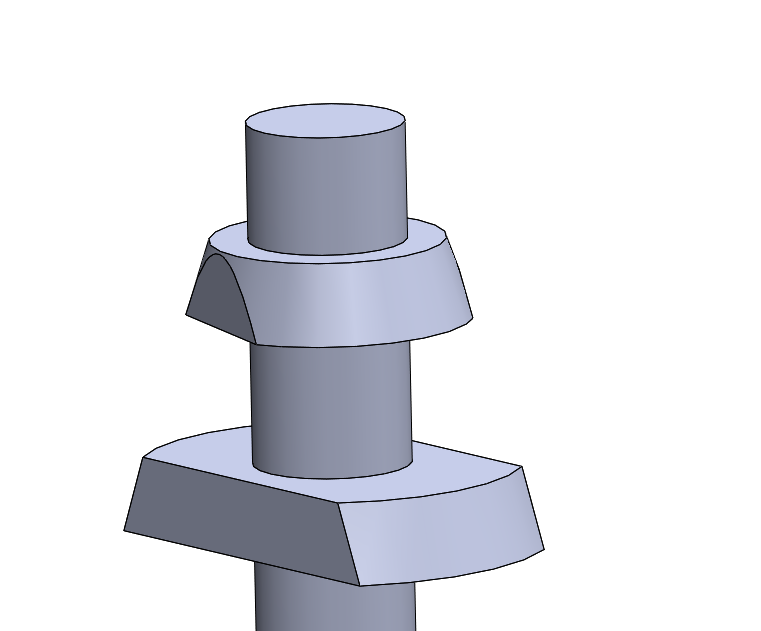
Finally add a base to steady the tree.
To finish add a wooden appearance.