
SOLIDWORKS has multiple integrated tools that can help users throughout the mold creation process. They can be used to create complex mold assemblies and tooling. In industry, these mold models provide a cost effective and easy way to create accurate injection moldings.
SOLIDWORKS Mold Tools can be used designing a multitude of parts of different materials. It allows users to fully integrate product design, mold design and design validation in one CAD package. This saves time, reduces the risk of errors and cuts costs.
The following series of tech tips will provide you with examples of ways SOLIDWORKS and SOLIDWORKS Mold Tools can help users with their designs.
In some cases, users may be looking to validate an already modelled mold assembly. They may have the mold files but have little information about them or how they work. For example, they may need to test the mold to see if the molded part created is correct. SOLIDWORKS make this an easy process even if the part is complex.
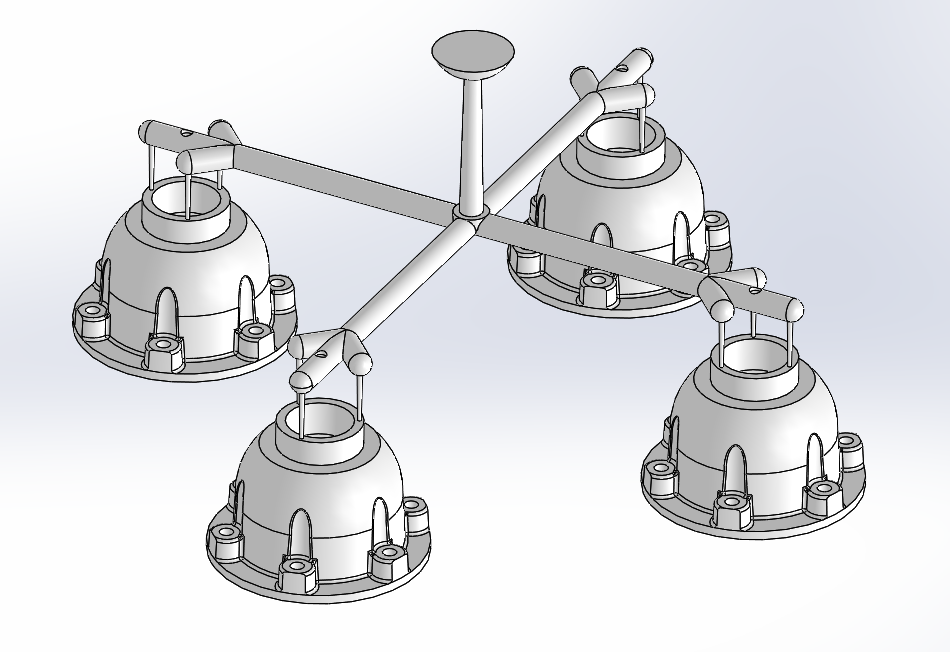
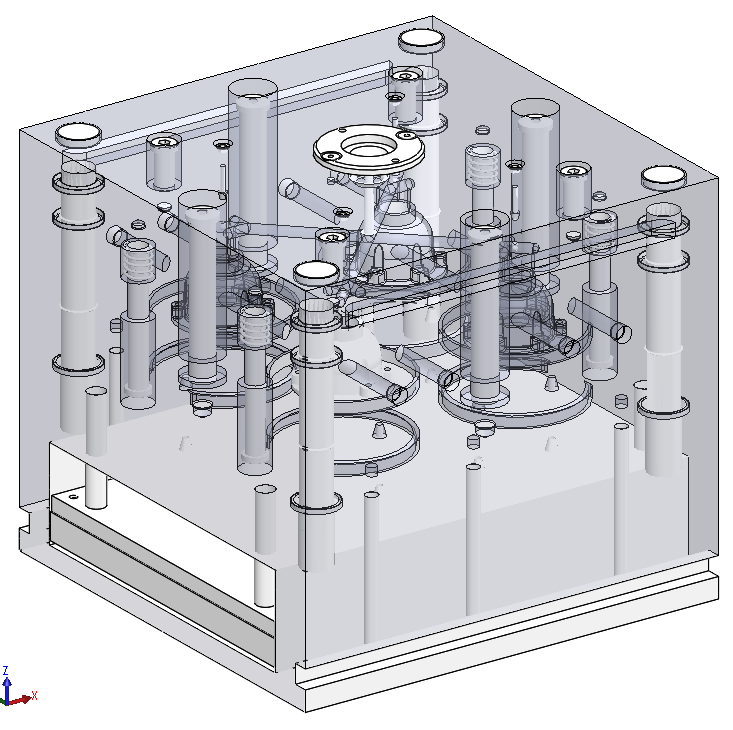
In this tech tip, we will look at filling the cavity of this complex mold assembly to validate the part that will be created.
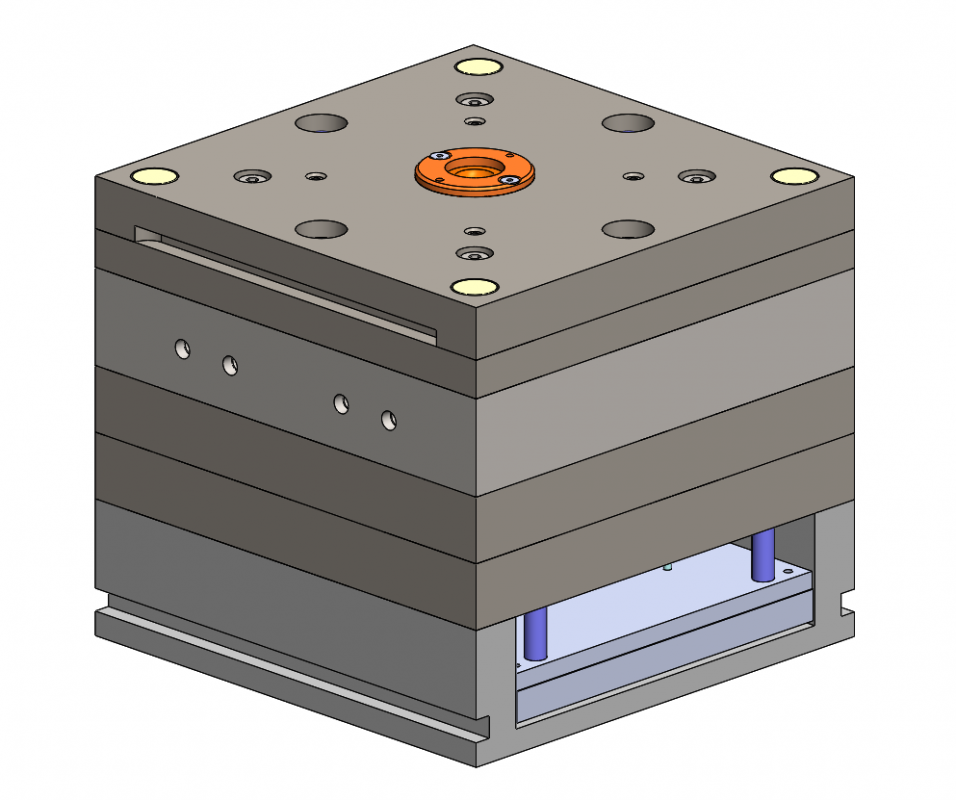
- Open the mold assembly in SOLIDWORKS.
- Insert Components > New Part. Select a reference plane i.e. Top plane. Exit out of the sketch command.
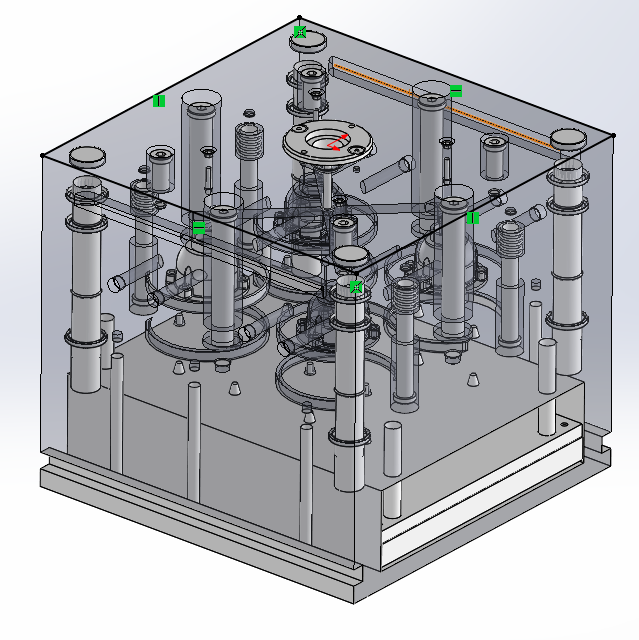
- Insert > Features > Join. Group select all of the parts of the assembly.

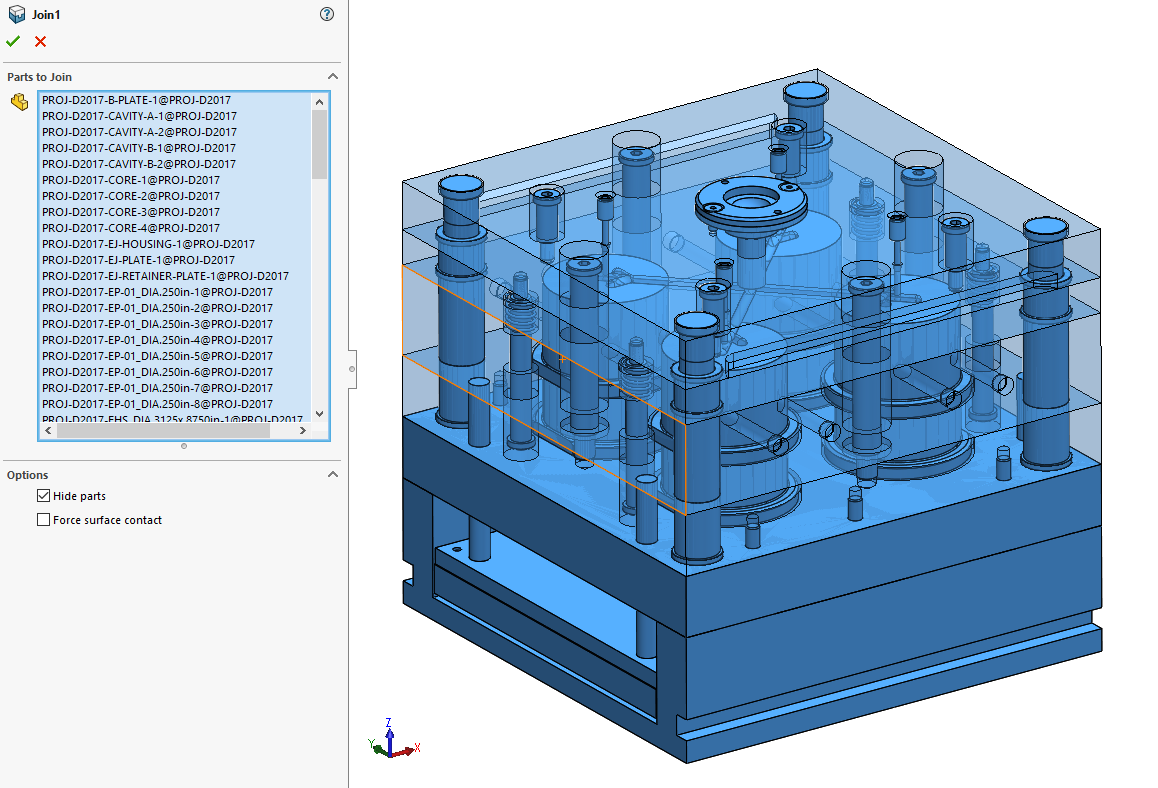
- Check Hide parts. Click the green tick to OK the feature.
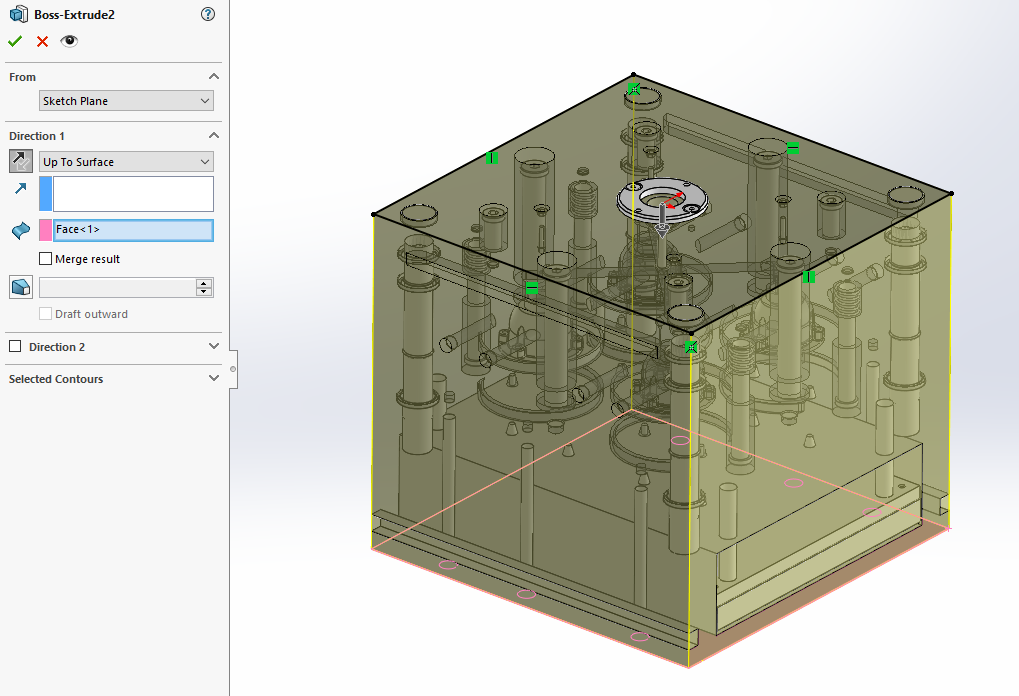
- Insert a new Extrude feature into the part. Choose the bottom face to sketch on.
- Convert the outside edges of the top face.
- Extrude sketch up to the top surface. Keep Merge result unchecked.
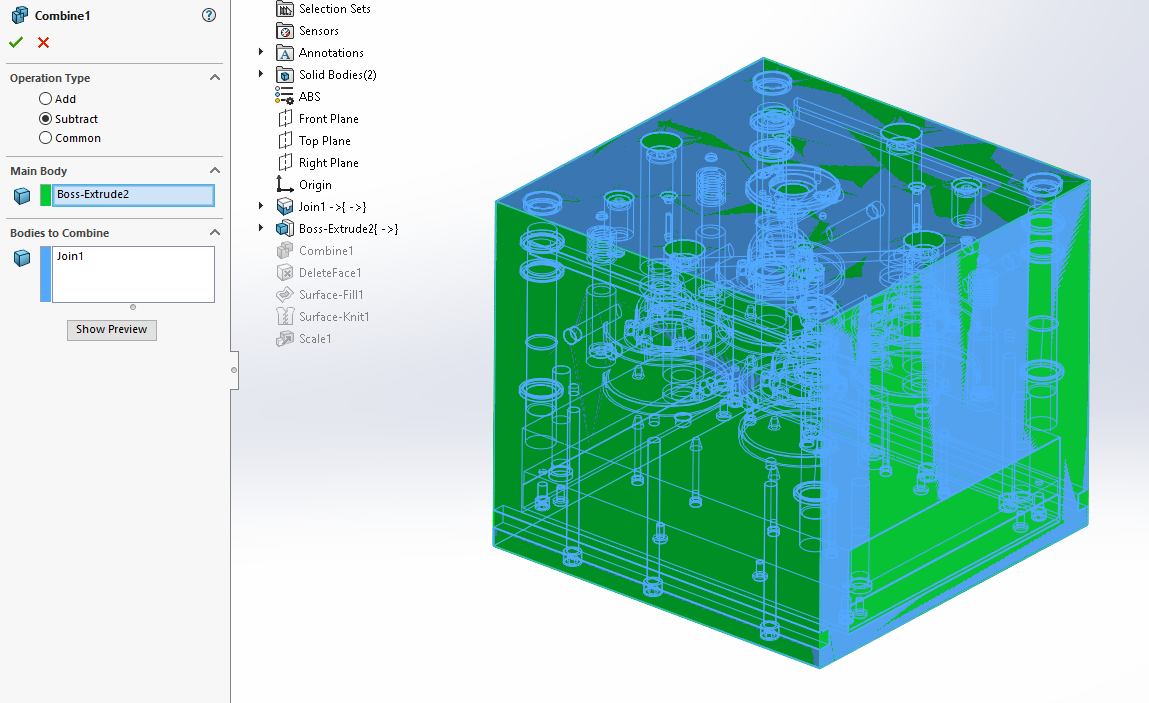
- Insert > Features > Combine.
- Check Subtract.
- Choose the Boss-Extrude as the main body.
- Combine with the Join Body.
For more information on the Combine Feature, see our Combine and Intersect Tech Tip
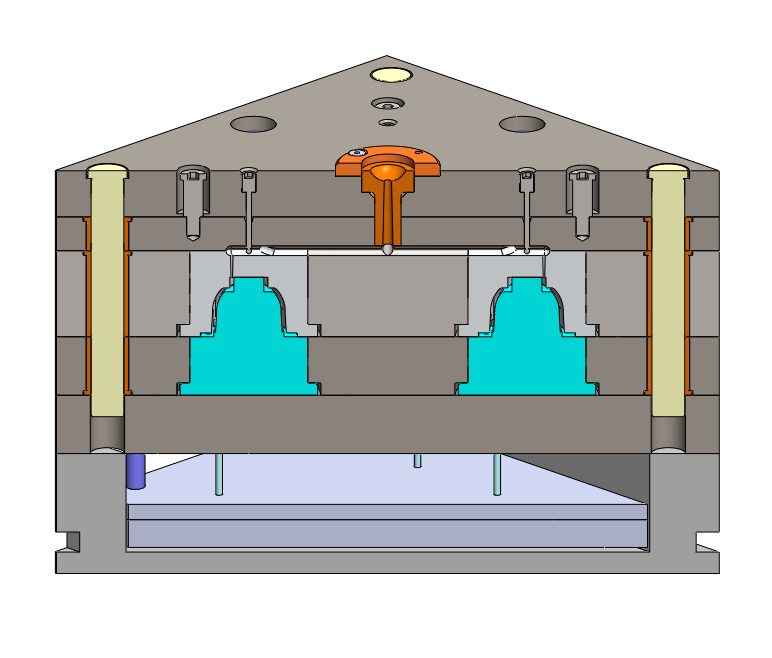
- Within the Bodies to Keep flyout, select the body of the cavity shape (shown in purple). The other, unselected bodies will be deleted.
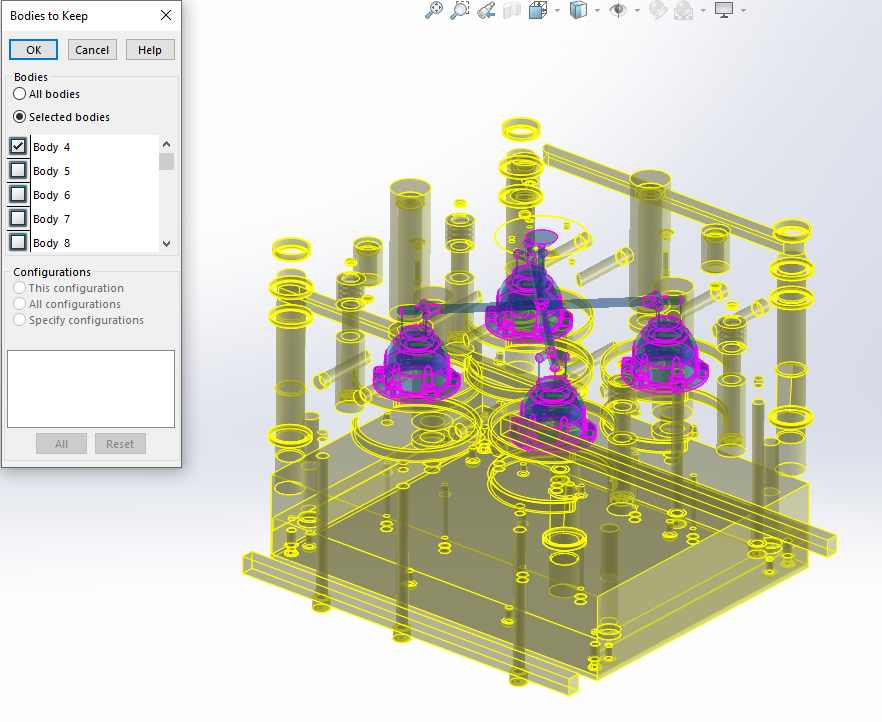
- The resulting part is the geometry of the cavity to mimic what would happen after injection molding. This allows the user to check the part for any errors or failures.