
12 Blogs of Christmas – Santa Hat
The following steps will show you how to model a Santa Hat for Christmas. We will utilize surfacing tools and the Flex feature.
Section 1 – Holly Bush
- Create a New Part in SOLIDWORKS. Open a New Sketch on the Top Plane.
- Inside the sketch add a Sketch Picture for reference. Tools > Sketch Tools > Sketch Picture. Move and scale the picture to the desired size about the Origin.

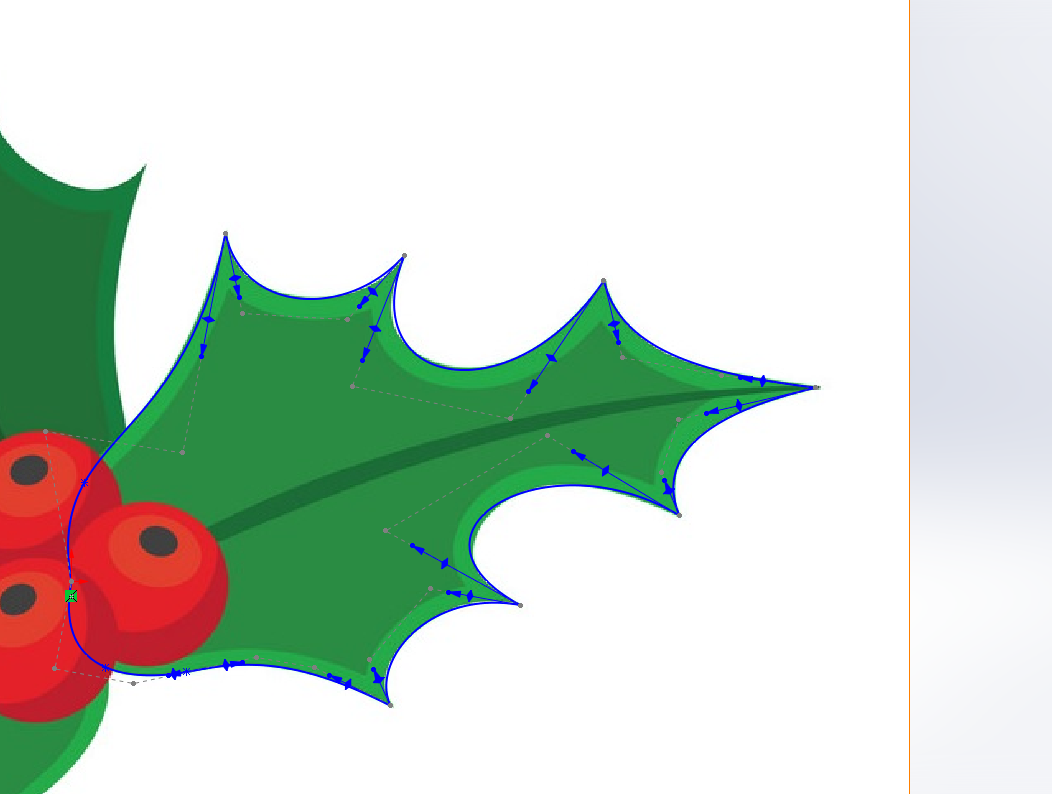
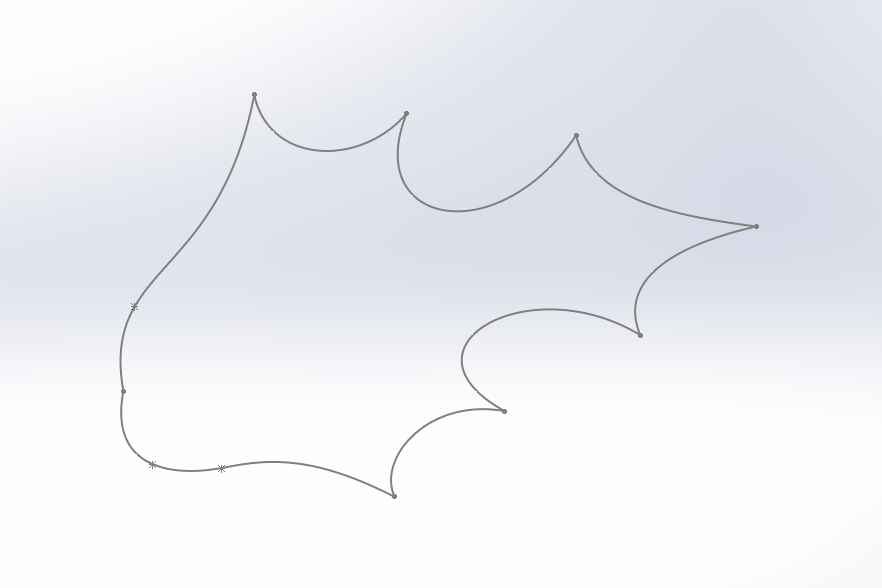
- Sketch a rough outline for one of the leaves using a combination of Splines.
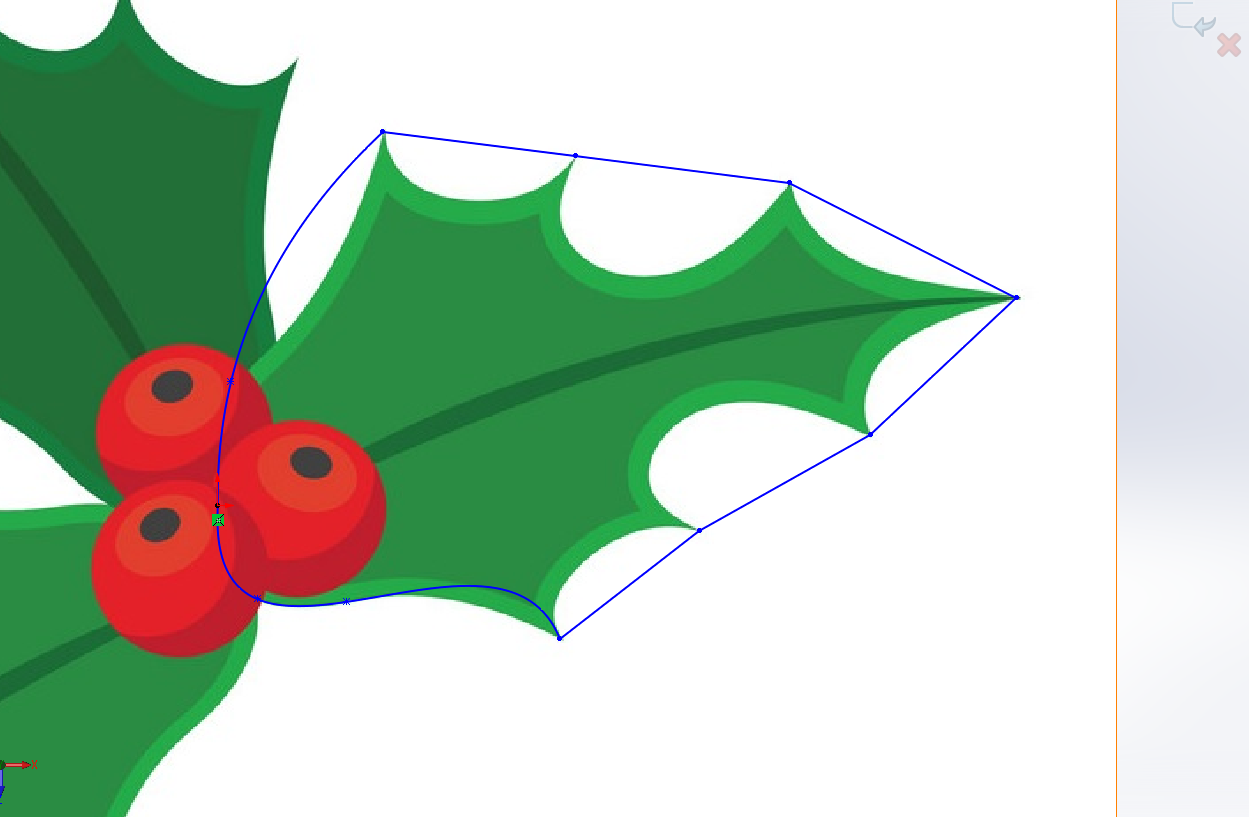
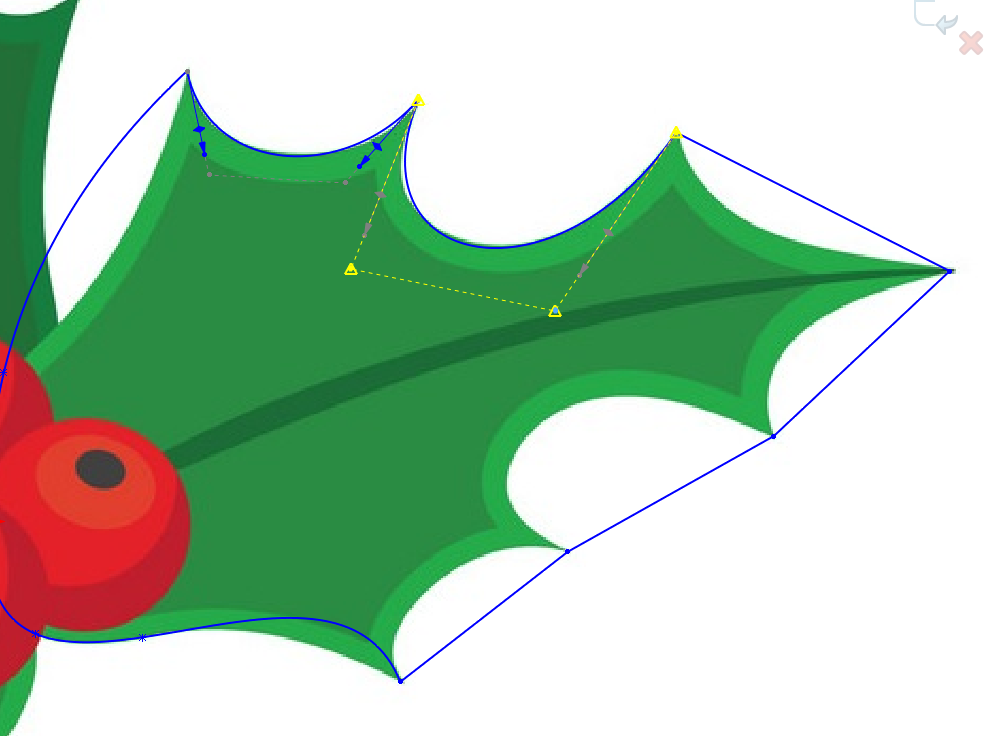
- Set the shape of the Splines around the Sketch Picture. It is usually easier to control the curves using a Control Polygon (RMB on the Spline > turn on Display Control Polygon).
- Repeat until you have the whole shape of the Sketch Picture. Exit the sketch and hide the sketch containing the Sketch Picture.
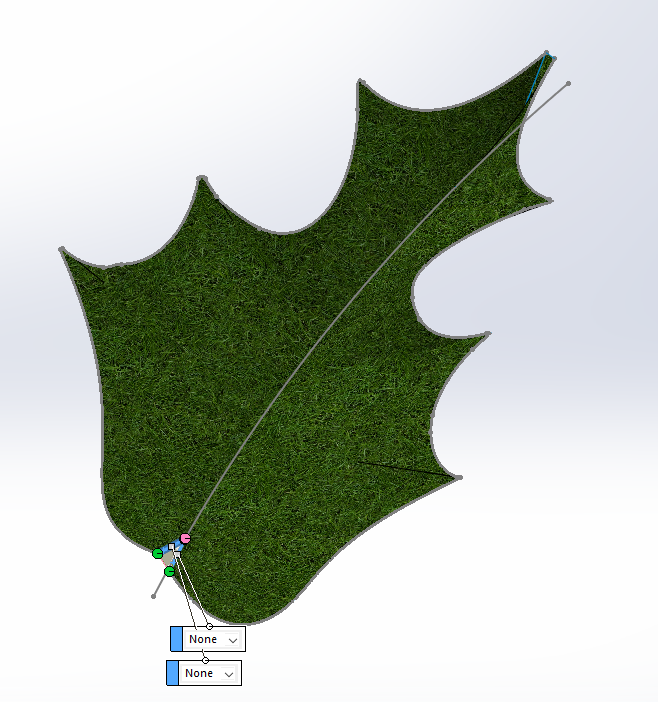
- Create a new plane between 2 of the Spline endpoints. On the new plane create a sketch with a curve on. Create a Projected Curve between the new sketch and the sketch on the Top plane.
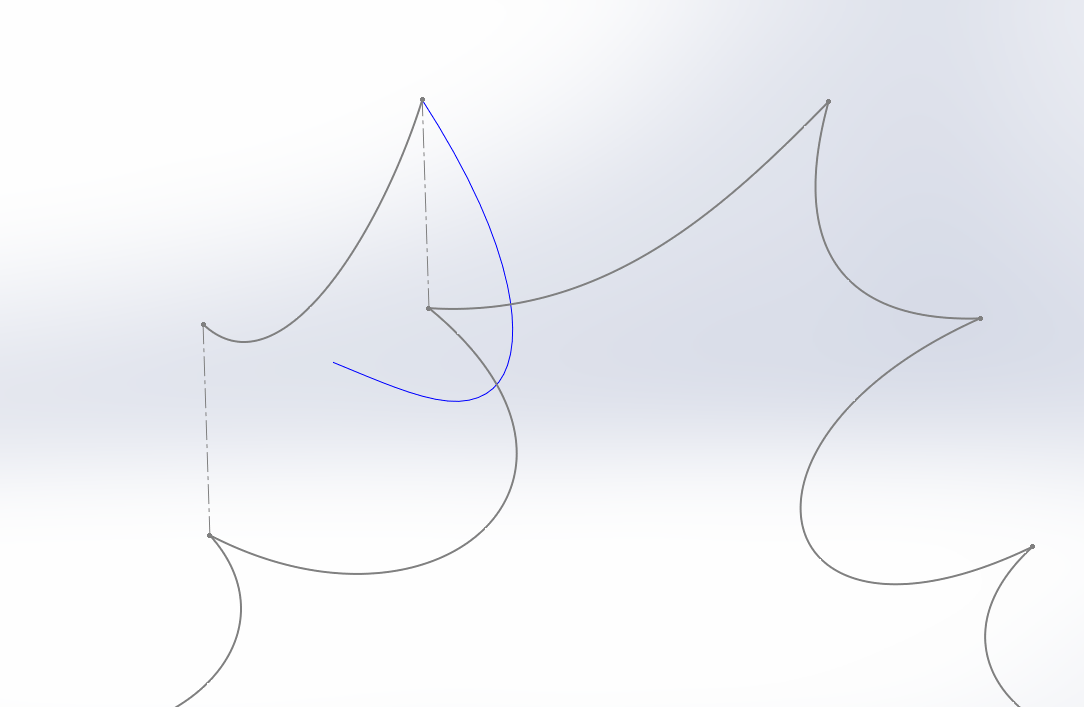
- Repeat the process around the sketch. It doesn’t matter if some of the projected curves have gaps or are overlapping.
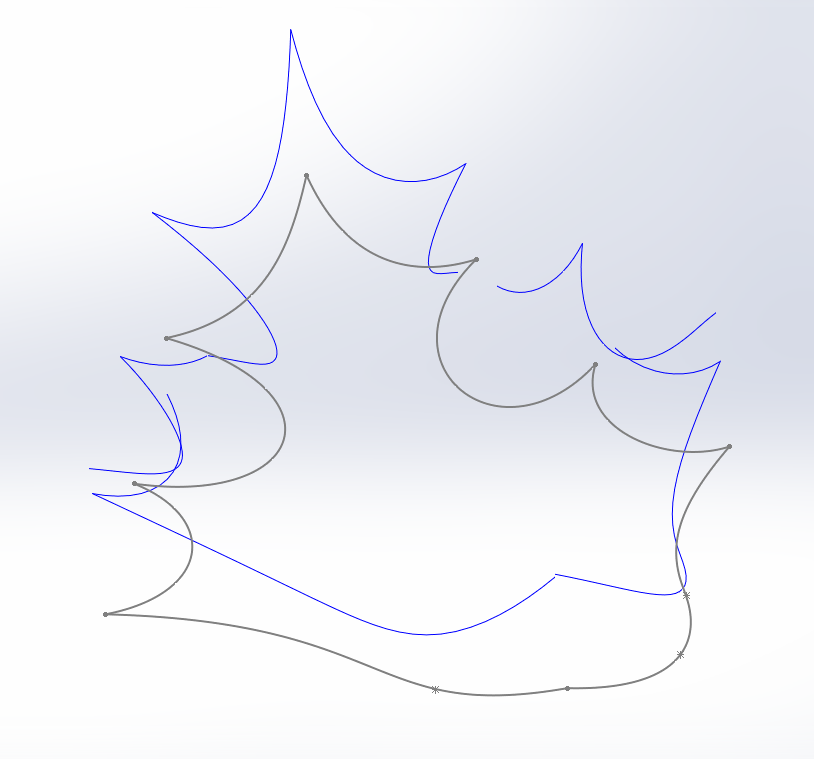
- Create a new 3DSketch and convert the Projected Curves to 3D sketch entities. Use a Fit Spline to create a smooth continuous sketch.
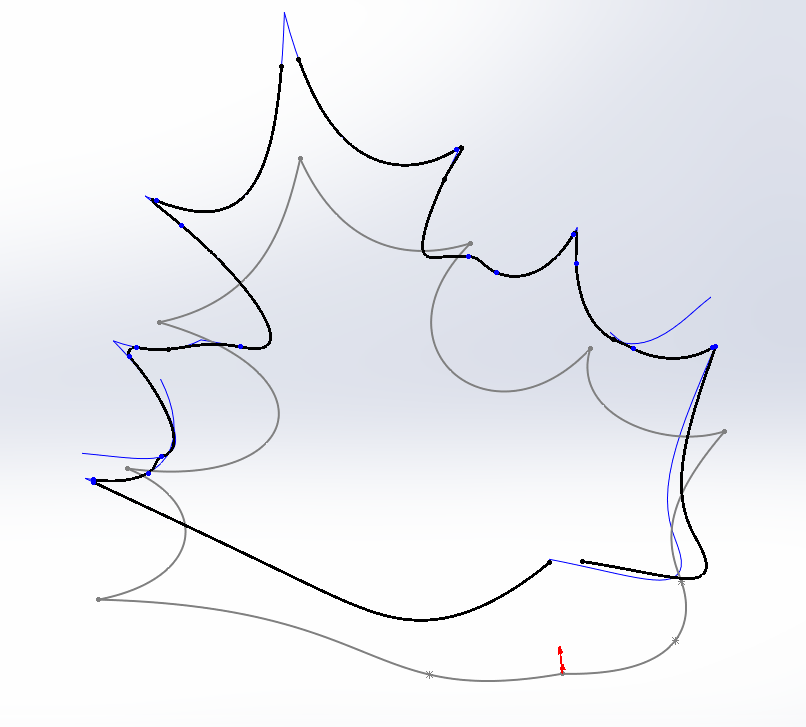
- Create a solid centerline on the Top Plane. Add a Boundary Surface feature between one half of the 3DSketch and the centerline. Add connecters and needed to refine the shape.
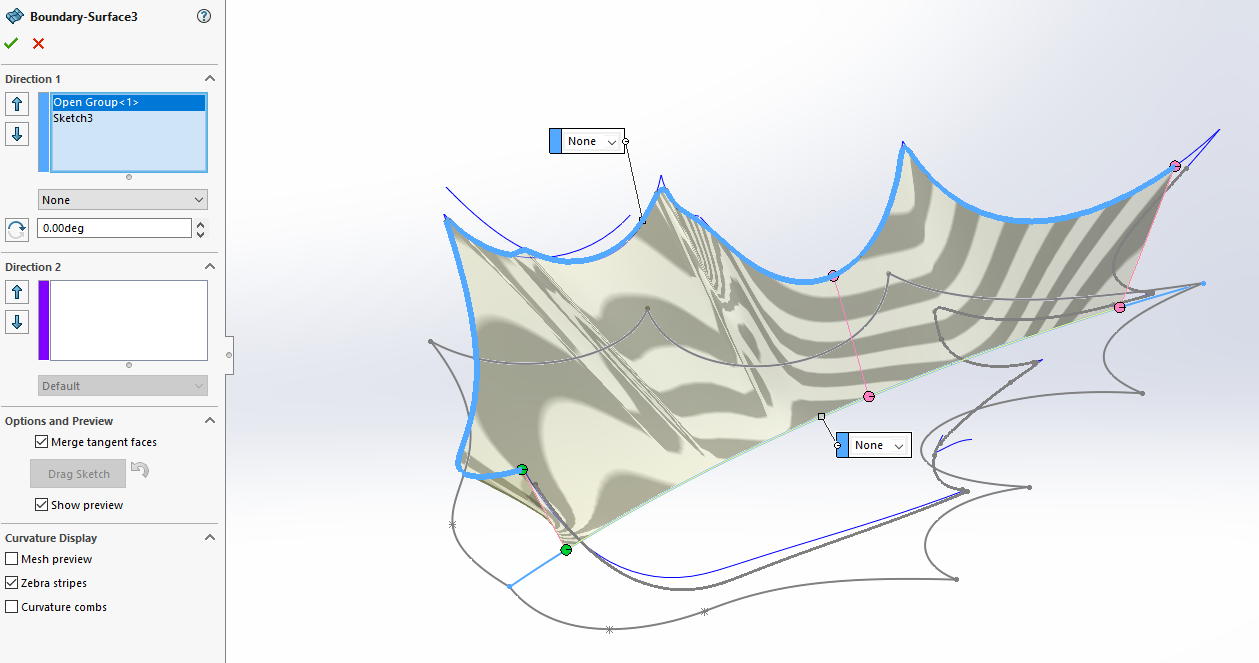
- Repeat for the other side of the leaf. Add additional Boundary Surfaces to close any gaps.
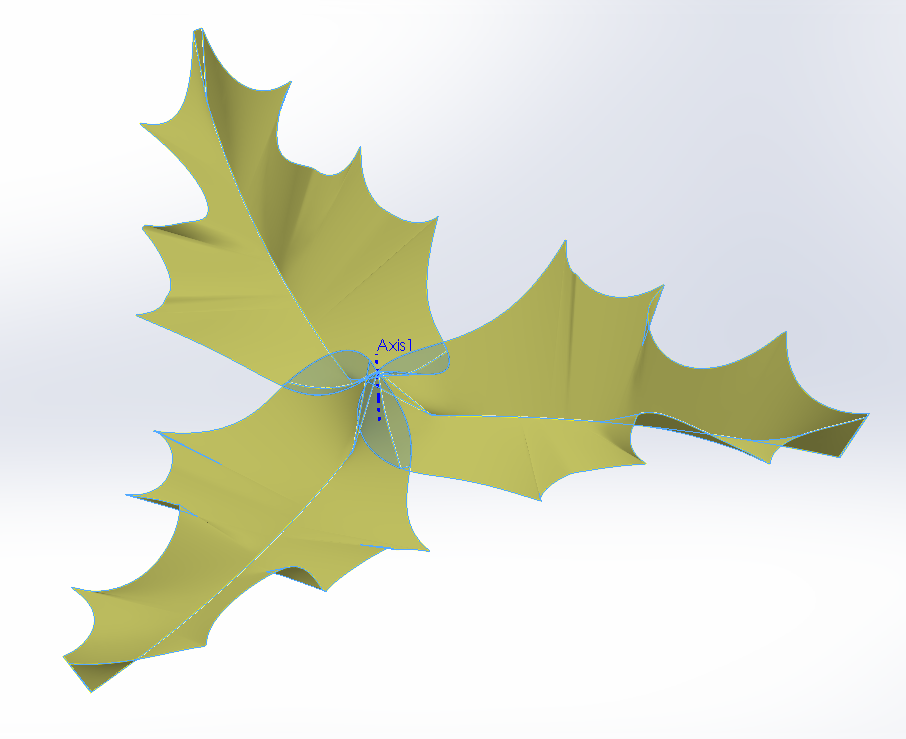
- Knit any surface bodies together using the Knit Surface tool. 1 surface body should remain in the surface body folder.
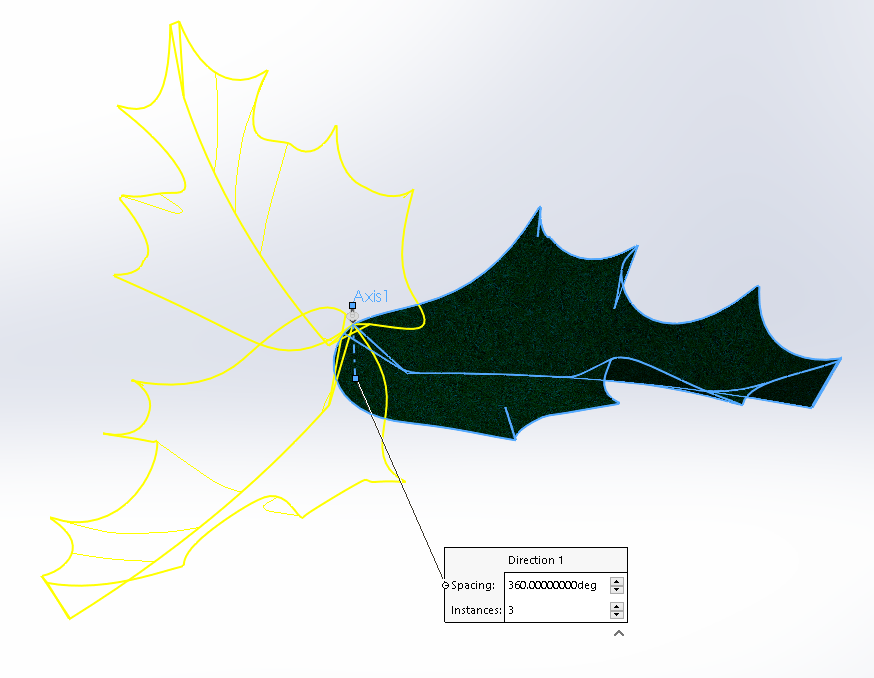
- Using a created central axis, Circular pattern the leaf body.
- Trim away any unwanted surfaces using the Trim surface feature. Choose a Mutual Trim.
- Inside an Assembly, add some berries (revolved spheres) to the leaf part. Save.

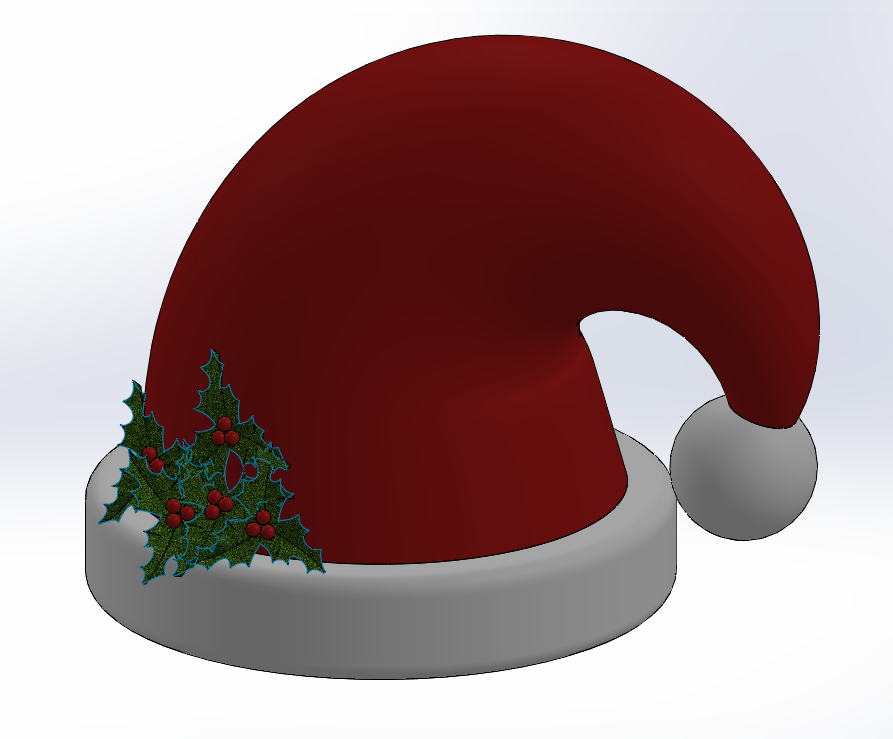
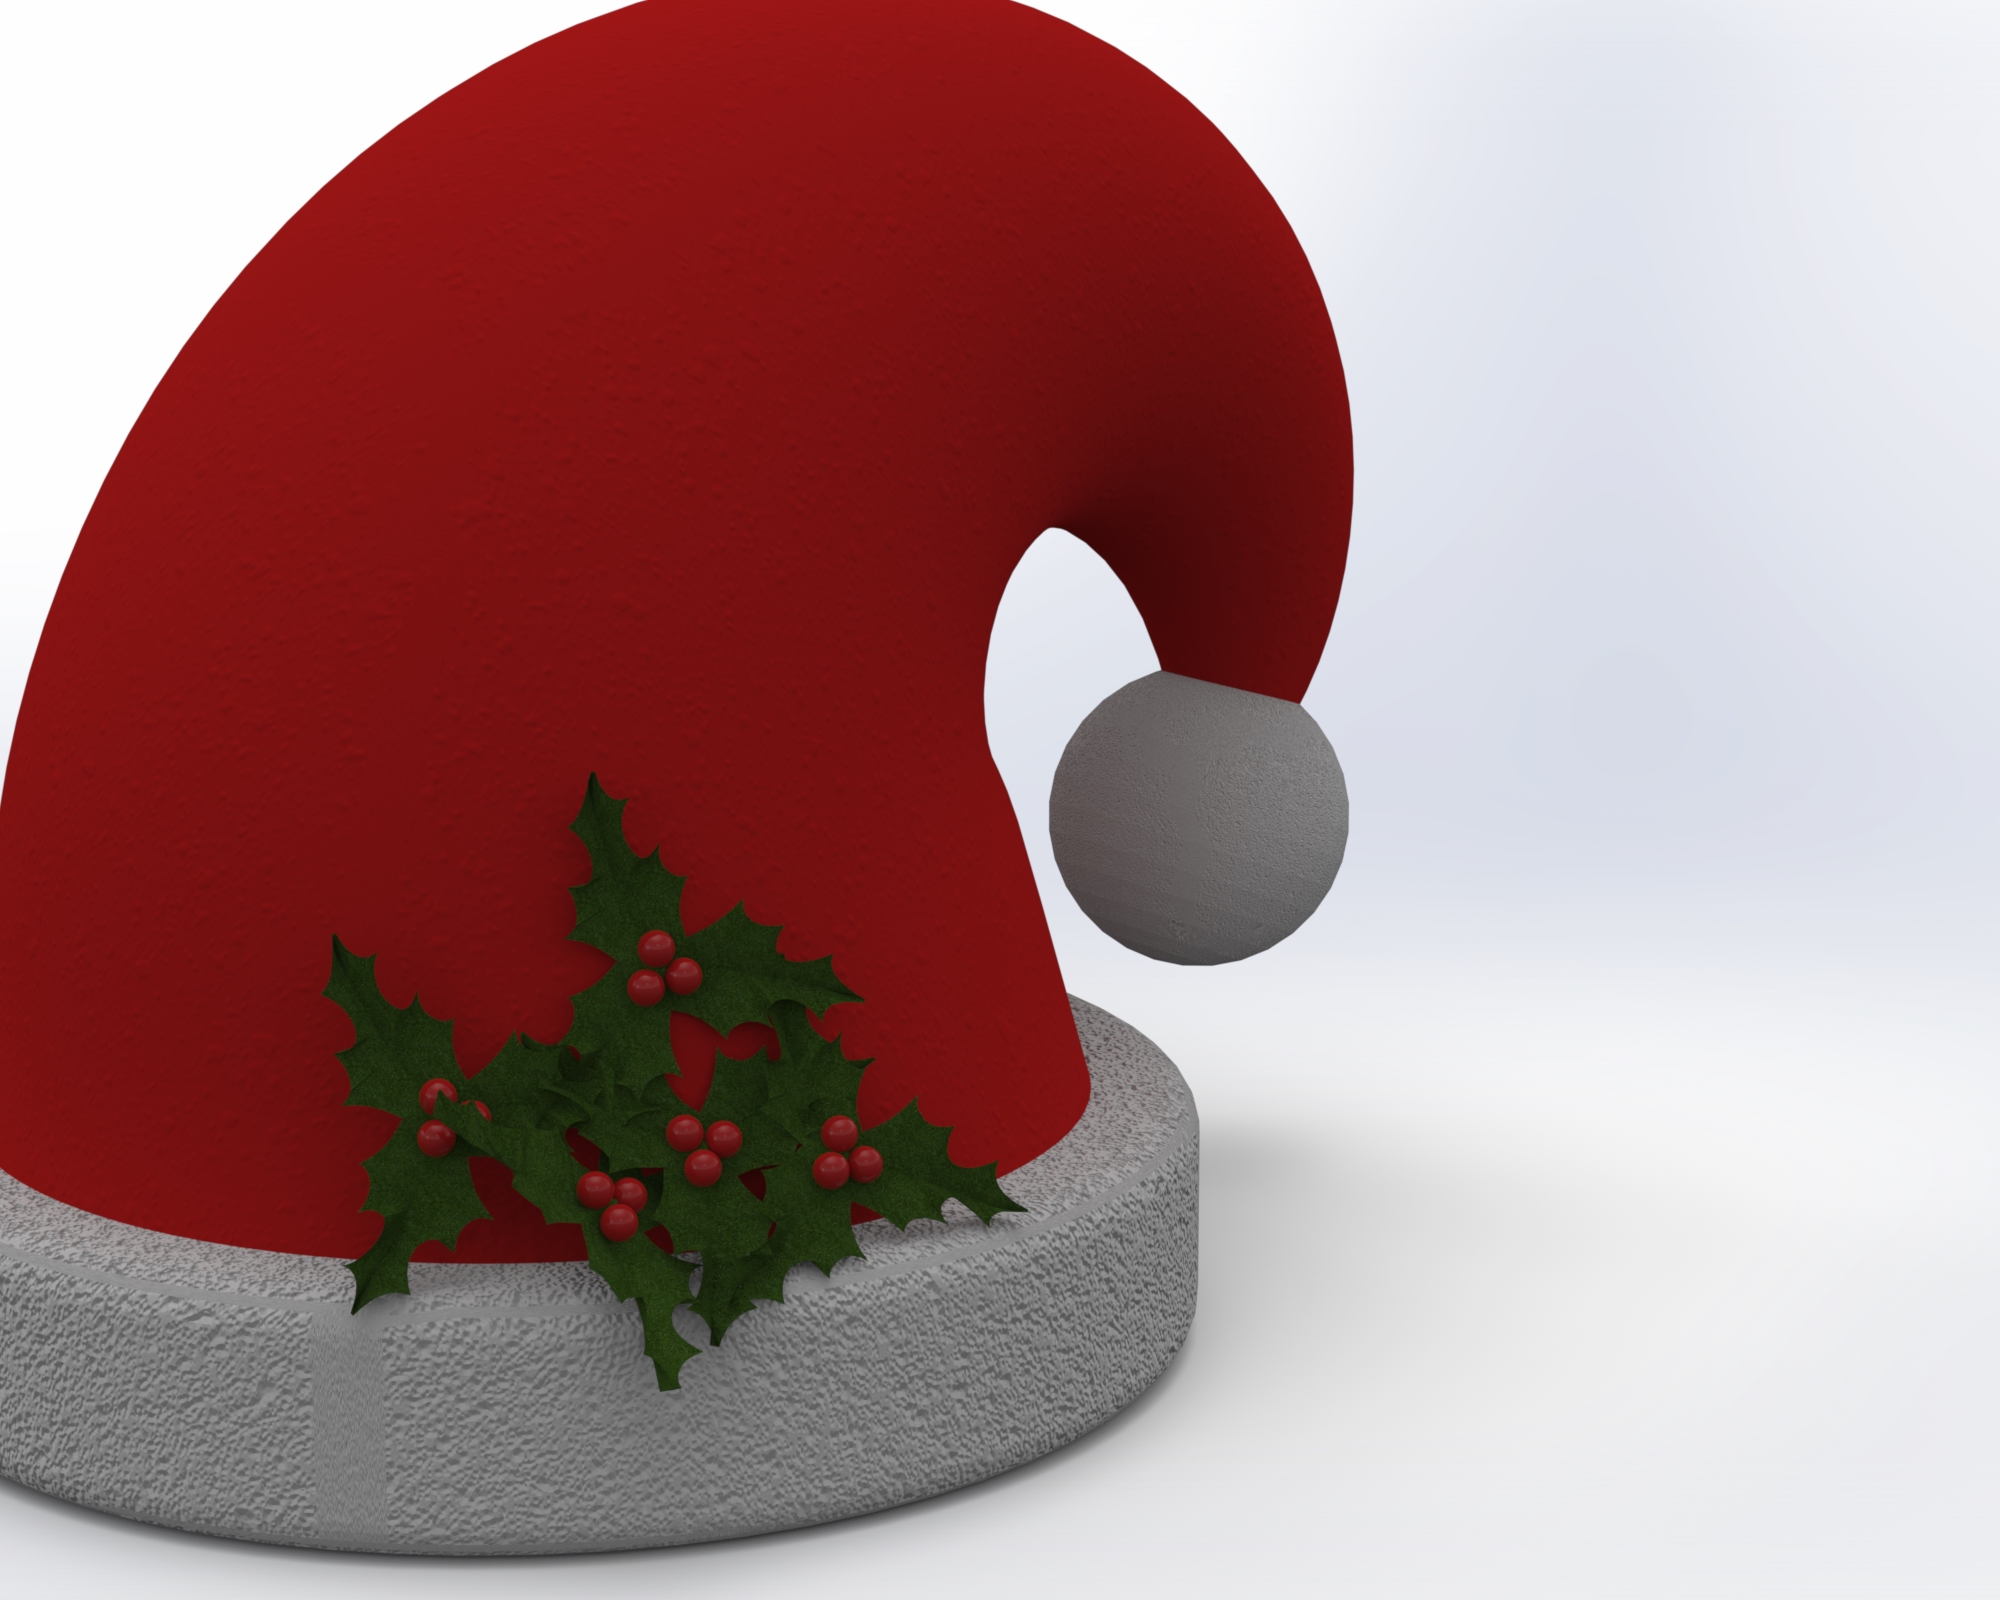
Section 2 – Santa Hat
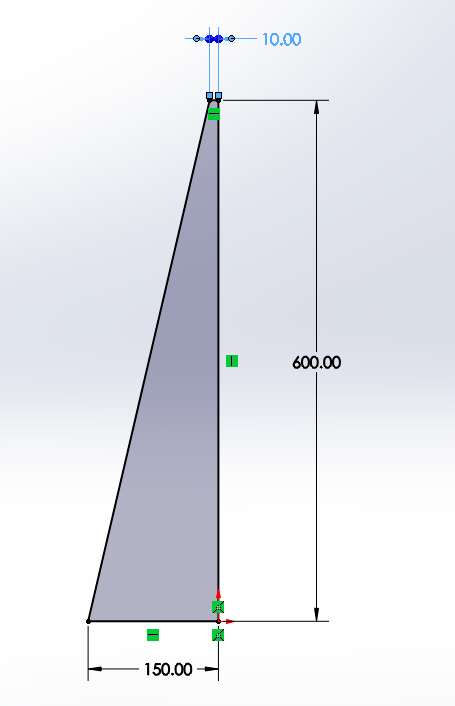
- Create a New Part in SOLIDWORKS. Open a New Sketch on the Front Plane.
- Sketch the outline for a revolve. Create a Revolve feature.
- Use a Flex feature to deform the solid. The SOLIDWORKS Flex feature is often overshadowed by the sweep feature. But this tool is really helpful when it comes to quickly creating a complicated twisted, stretched, or bent shape.
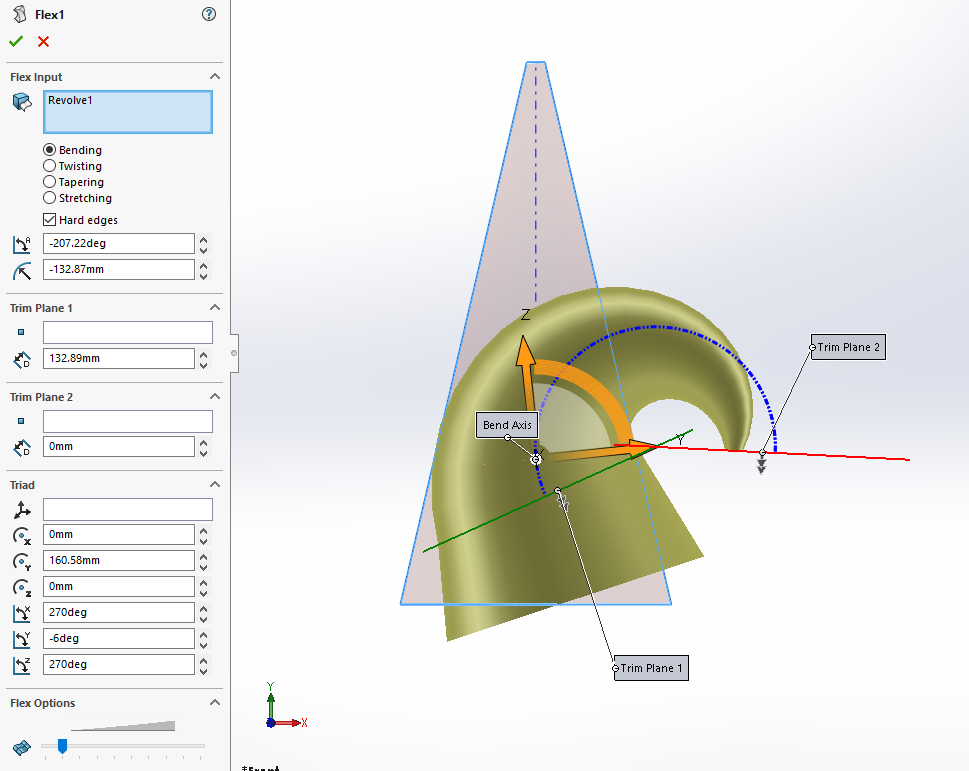
- The Flex feature has created an edge on the body of the hat. To remove this, use a Delete Face feature. Delete and Patch the face. You may also need to use a Cut with Surface command to flatten the bottom of the part.

- Use the Move or Copy Bodies tool to realign the part about the origin. The Flex feature changed the position of the solid.
- Shell out the part.
- Add revolved bodies for the trim and bobble.
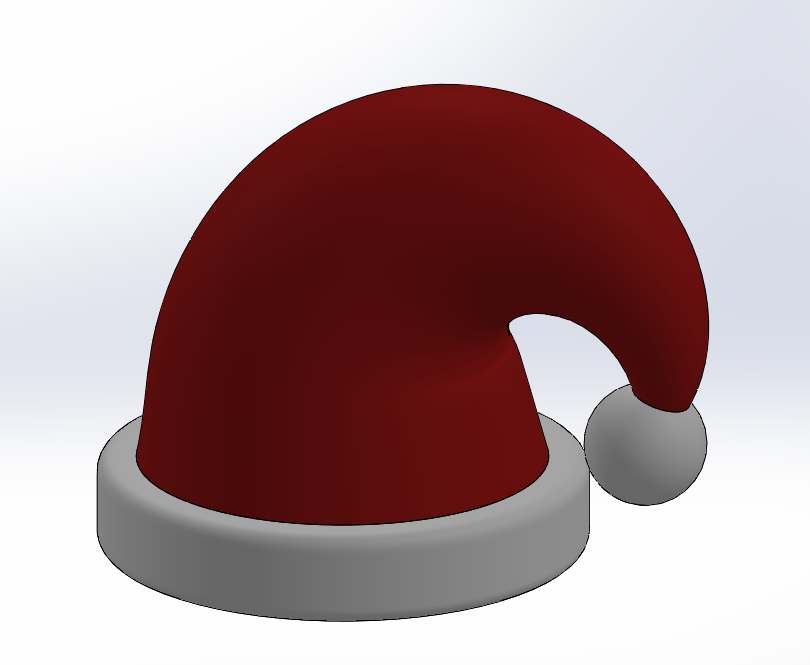
- Create an assembly of the hat part and add in an arrangement of Holly.