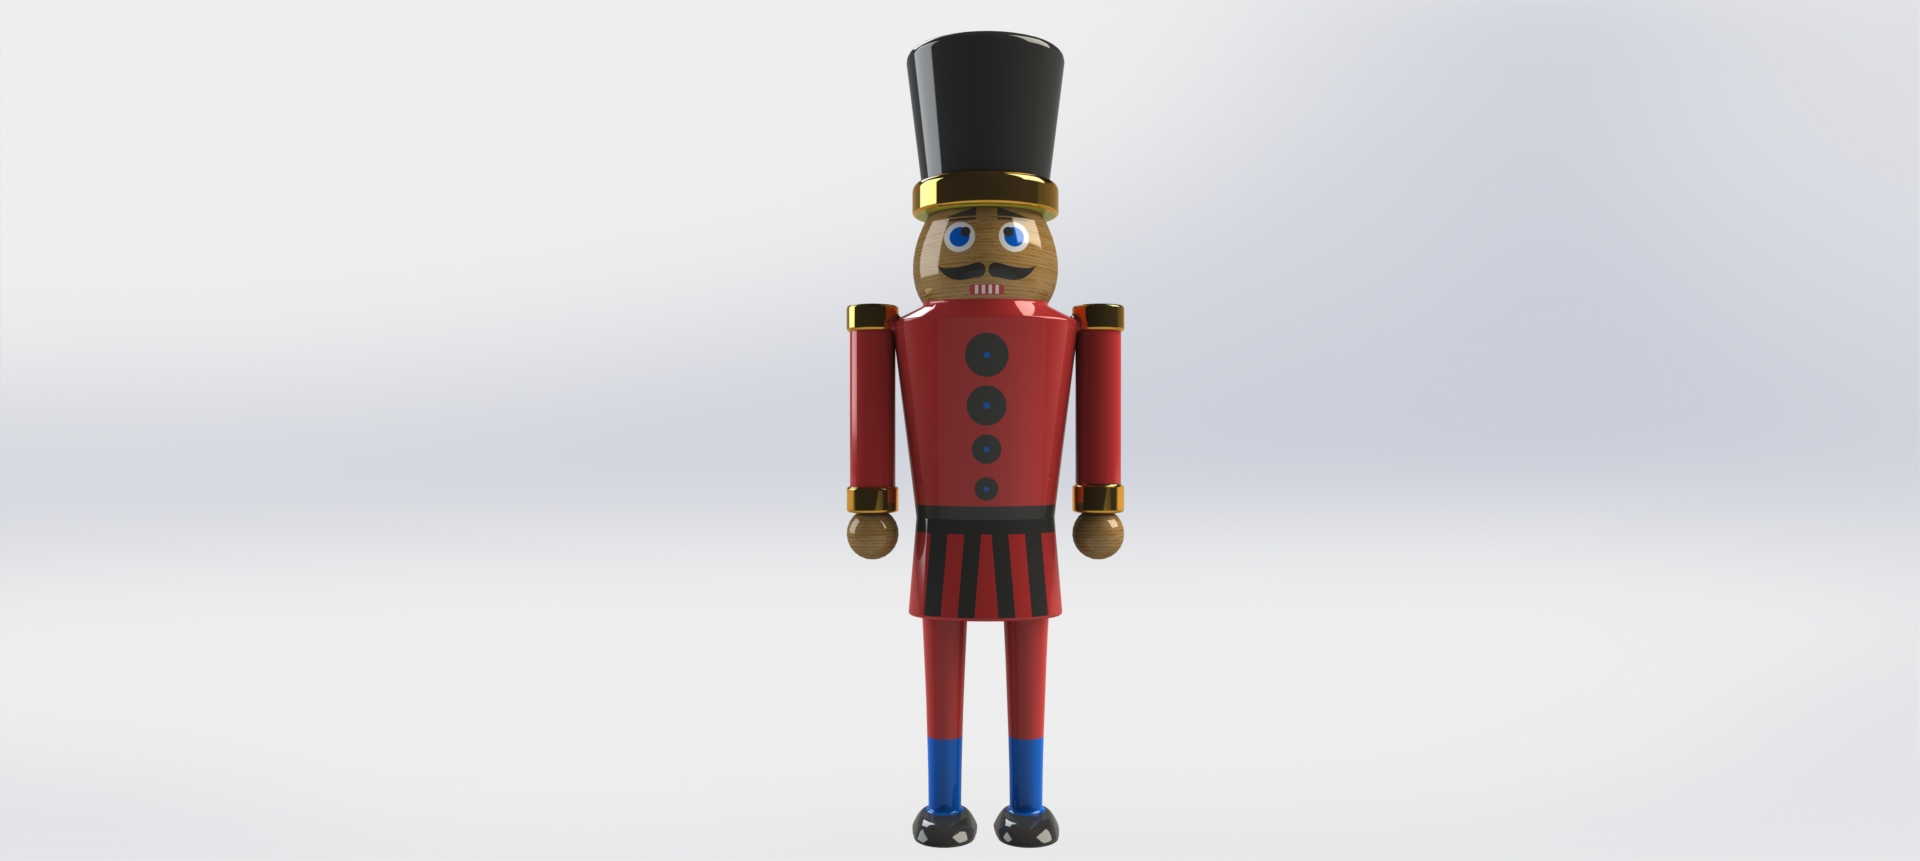

Modelling A Nutcracker
In today’s blog we will be modelling a Christmas nutcracker. This will be built up through multiple lofts and revolves. Once we have completed the solid modelling, we will use split lines to add in some detail.
Note: When using lofts, we can sketch out all of the required profiles at once and then complete each loft individually at the end. This however can create a busy and confusing workspace. For that reason, we will build up the nutcracker layer by layer.
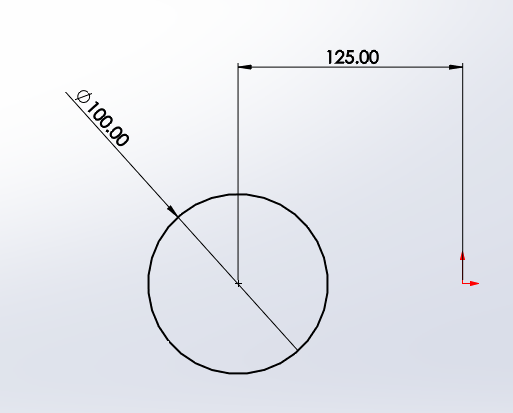
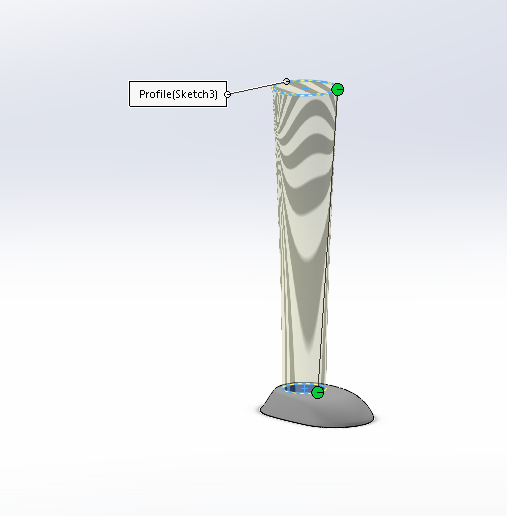
- Starting with the foot, sketch out the profile of the sole. Make sure to fully define the sketch. Once the sole has been drawn out (the first profile of the loft) we can start on the second profile, the ankle. In this example this will be sketched on a plane offset by 50mm.

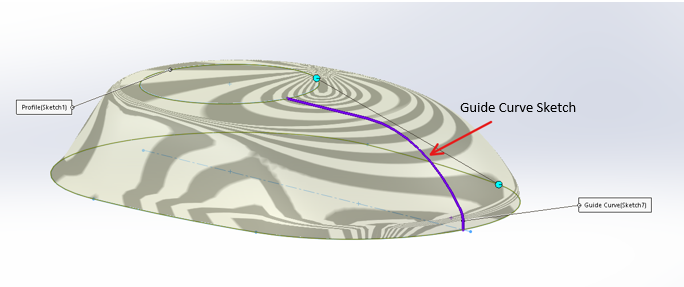
- Two sections of this model require guide curves, the foot and the head. With the foot we want to add the curve to the front. We will do this by creating a sketch plane in the center and drawing a curved spline which pierces the top and bottom profile. Once complete, exit the sketch and loft between the 2 profile, using the spline as a guide curve to create the shoe shape.
Note: Apply a Next To Sharp constraint to the guide curve otherwise it will fail to build. The next to sharp constraint causes the guide curve to have less effect the large over distance. Hence no problem around the tight radius at the back of the shoe.
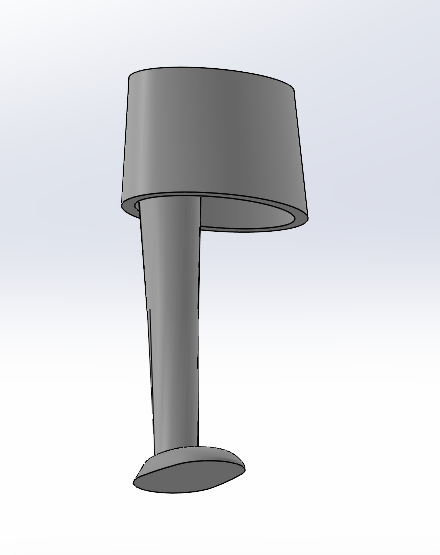
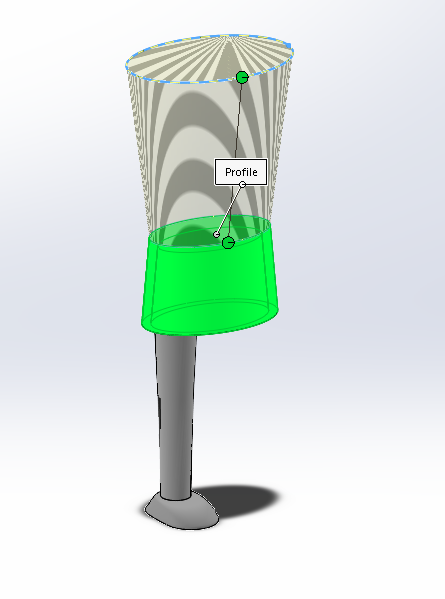
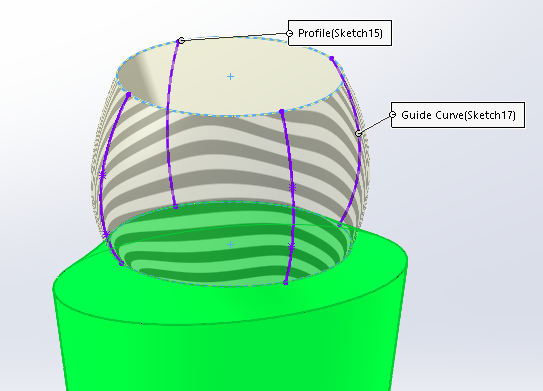
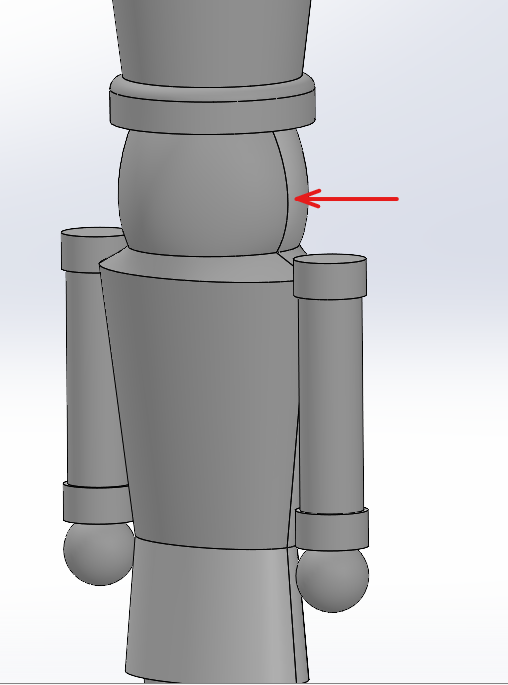
- Repeat this process for the leg, body and neck. For the head use four separate guide curves to create an equal swell on all sides. The arm and hat will be created using revolves.
Note: All guide curves must be in separate sketches.
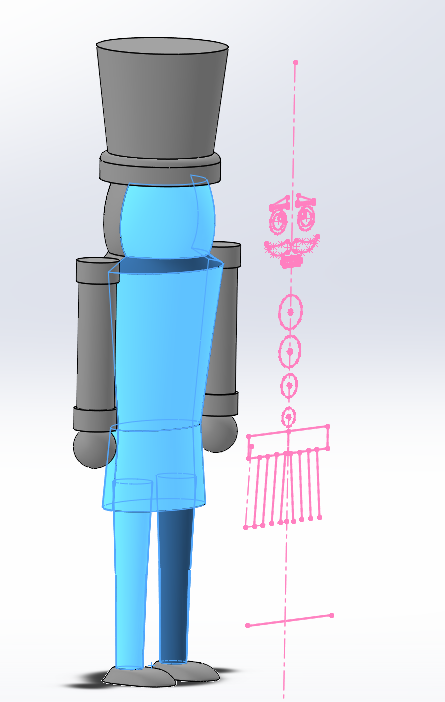
- Moving up, sketch a centerline from the top of the head and then the side profile of the hat. Once fully defined, revolve.
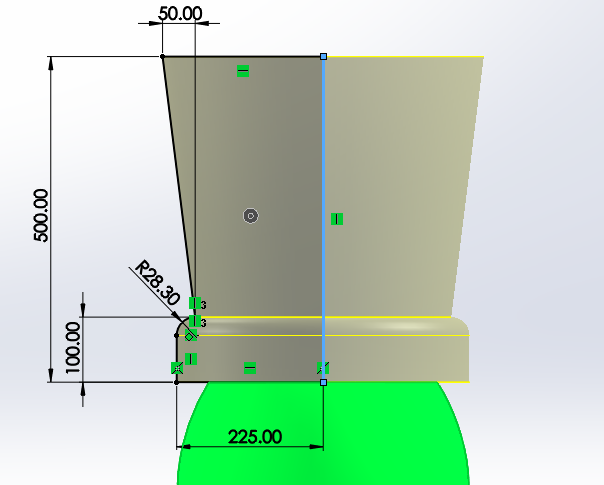
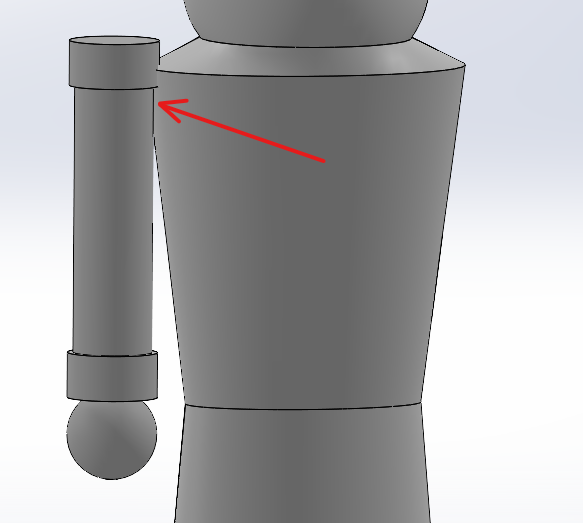
- Repeat for the arm. We only need to model one arm as we can mirror this across. Make sure the arm intersects the main body of the nutcracker so it forms a single body once complete.
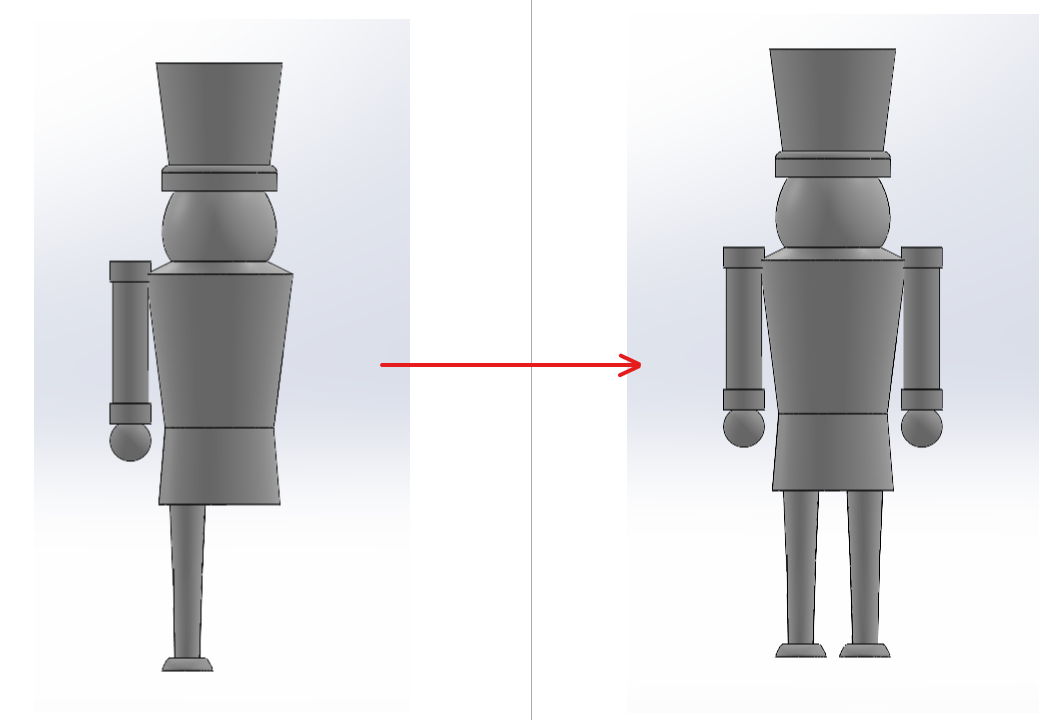
- Using the mirror tool, copy the arm and leg across to complete the solid modelling.
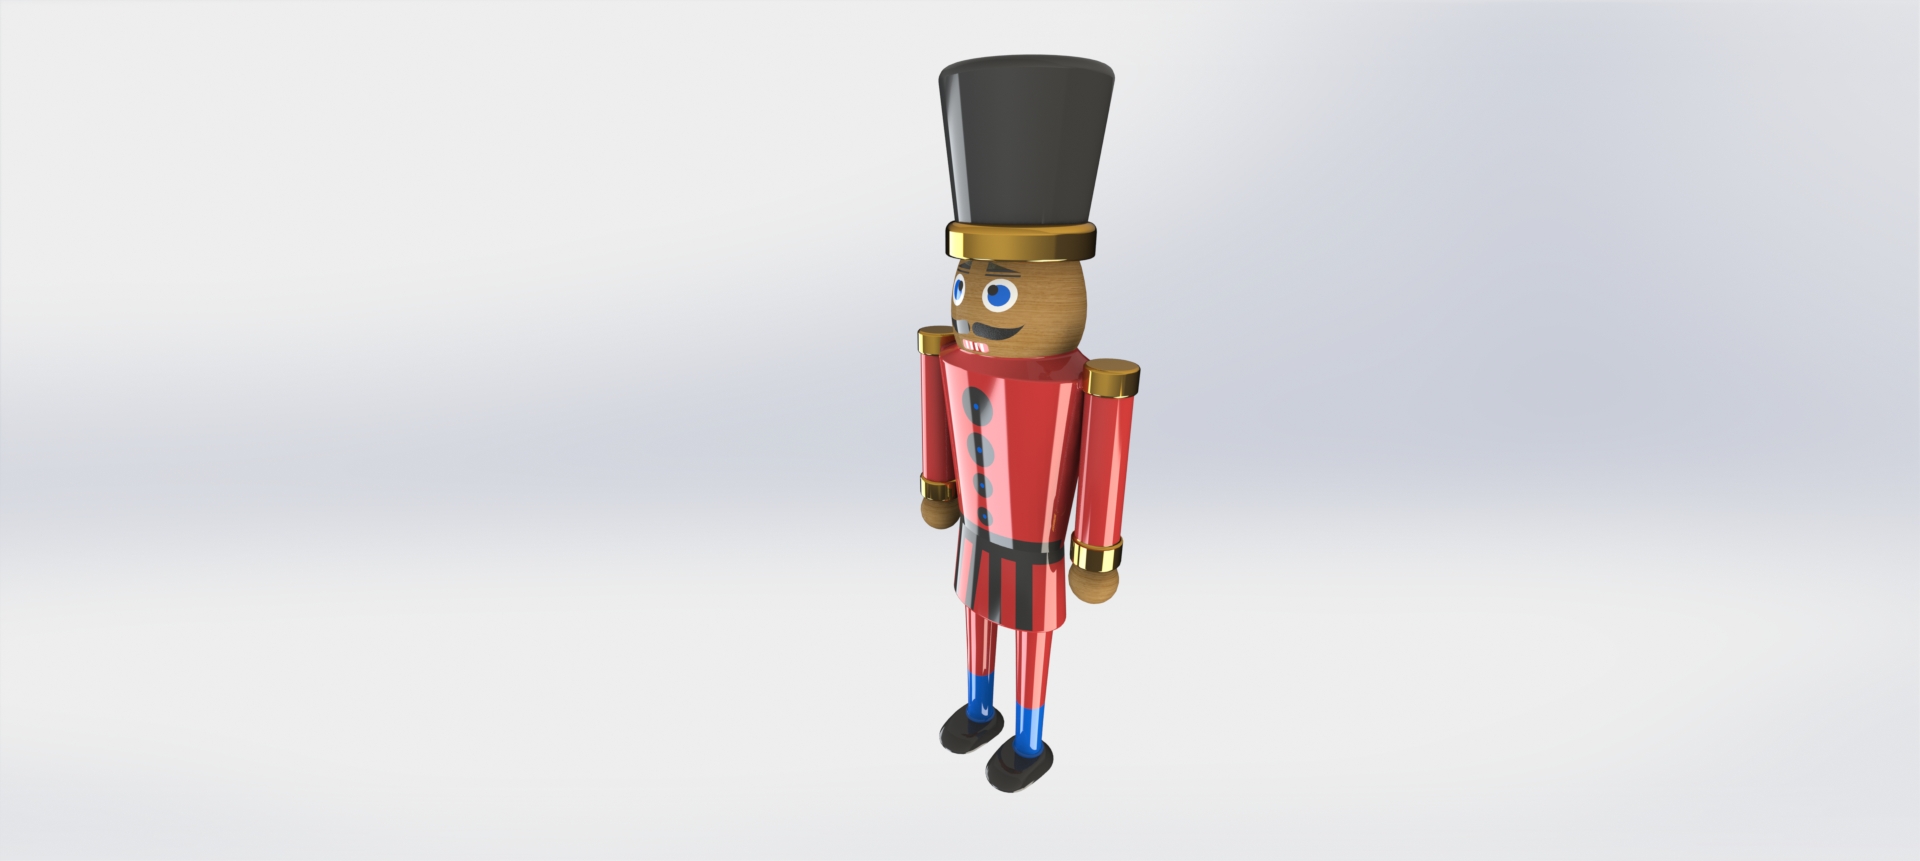
- Now to give him a face! This can be done using split lines. Because the detail is painted on in reality, this should create a relatively accurate end result. When creating the details of the face we do not want to project these lines onto both sides of the head. To avoid this, we must first apply a split line to divide the front and back of the body and head. We can leave the legs and arms as one face because we want the same finish either side.
- Next sketch out and apply a split line to form the detail of the face and clothes.
Note: Take advantage of the mirror tool to create a symmetrical result.
- Finally, to bring him to life, apply some colour. This is where the split line become very useful.
Tip: When rendering, go to view>modify>perspective and lower the value. This will add more depth to the render, giving it a more lifelike finish.